|
|
||||||||||||||||||||||||||||
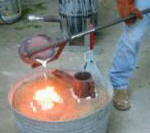
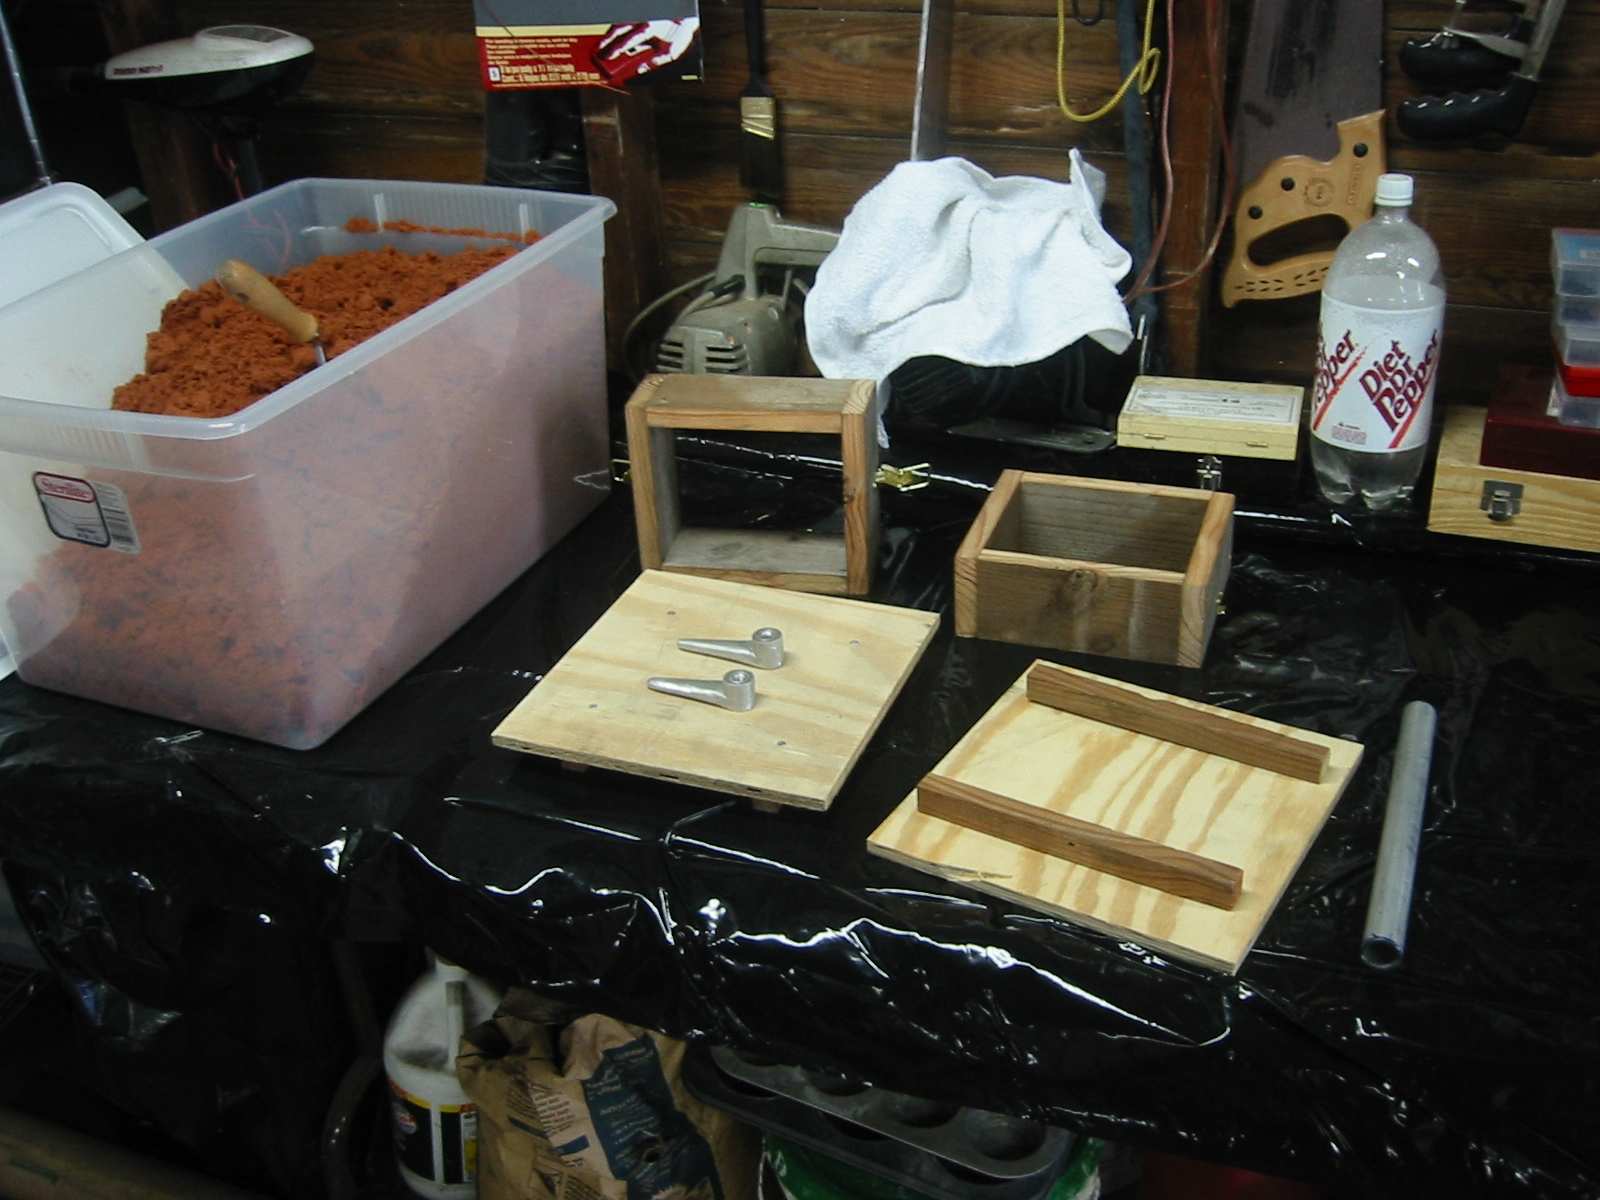
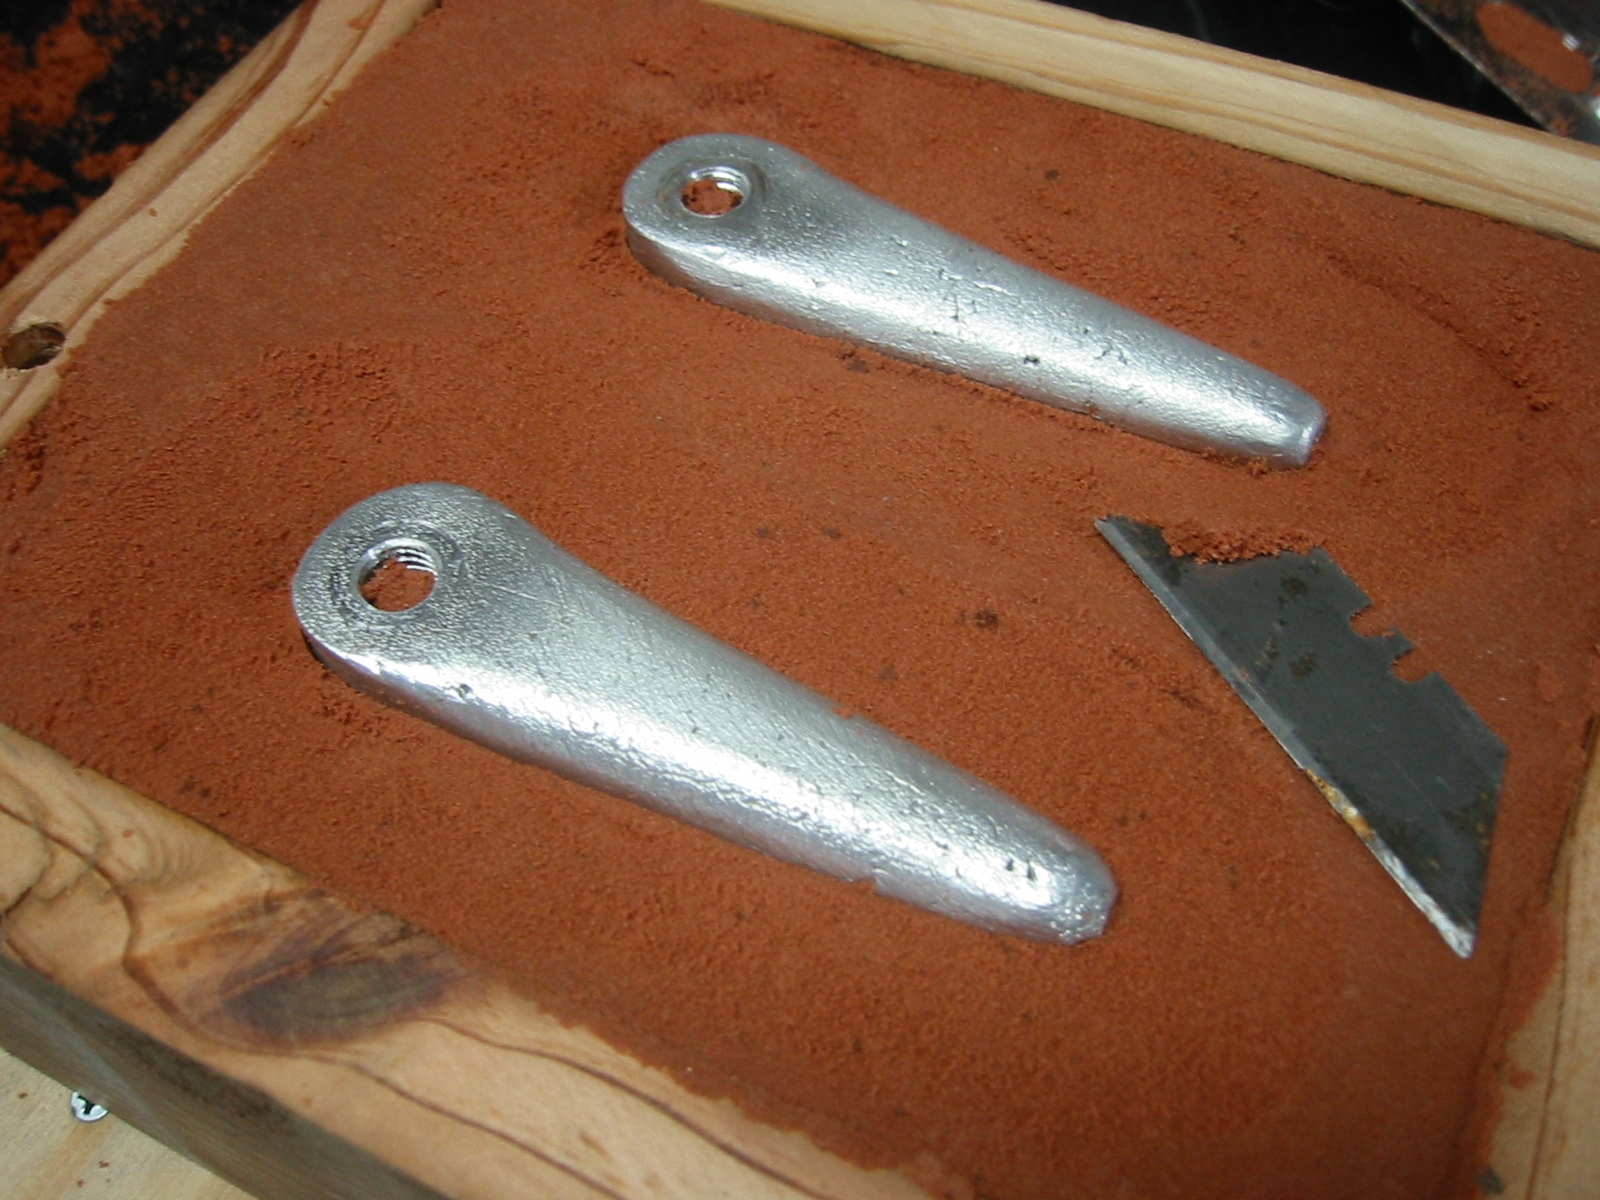
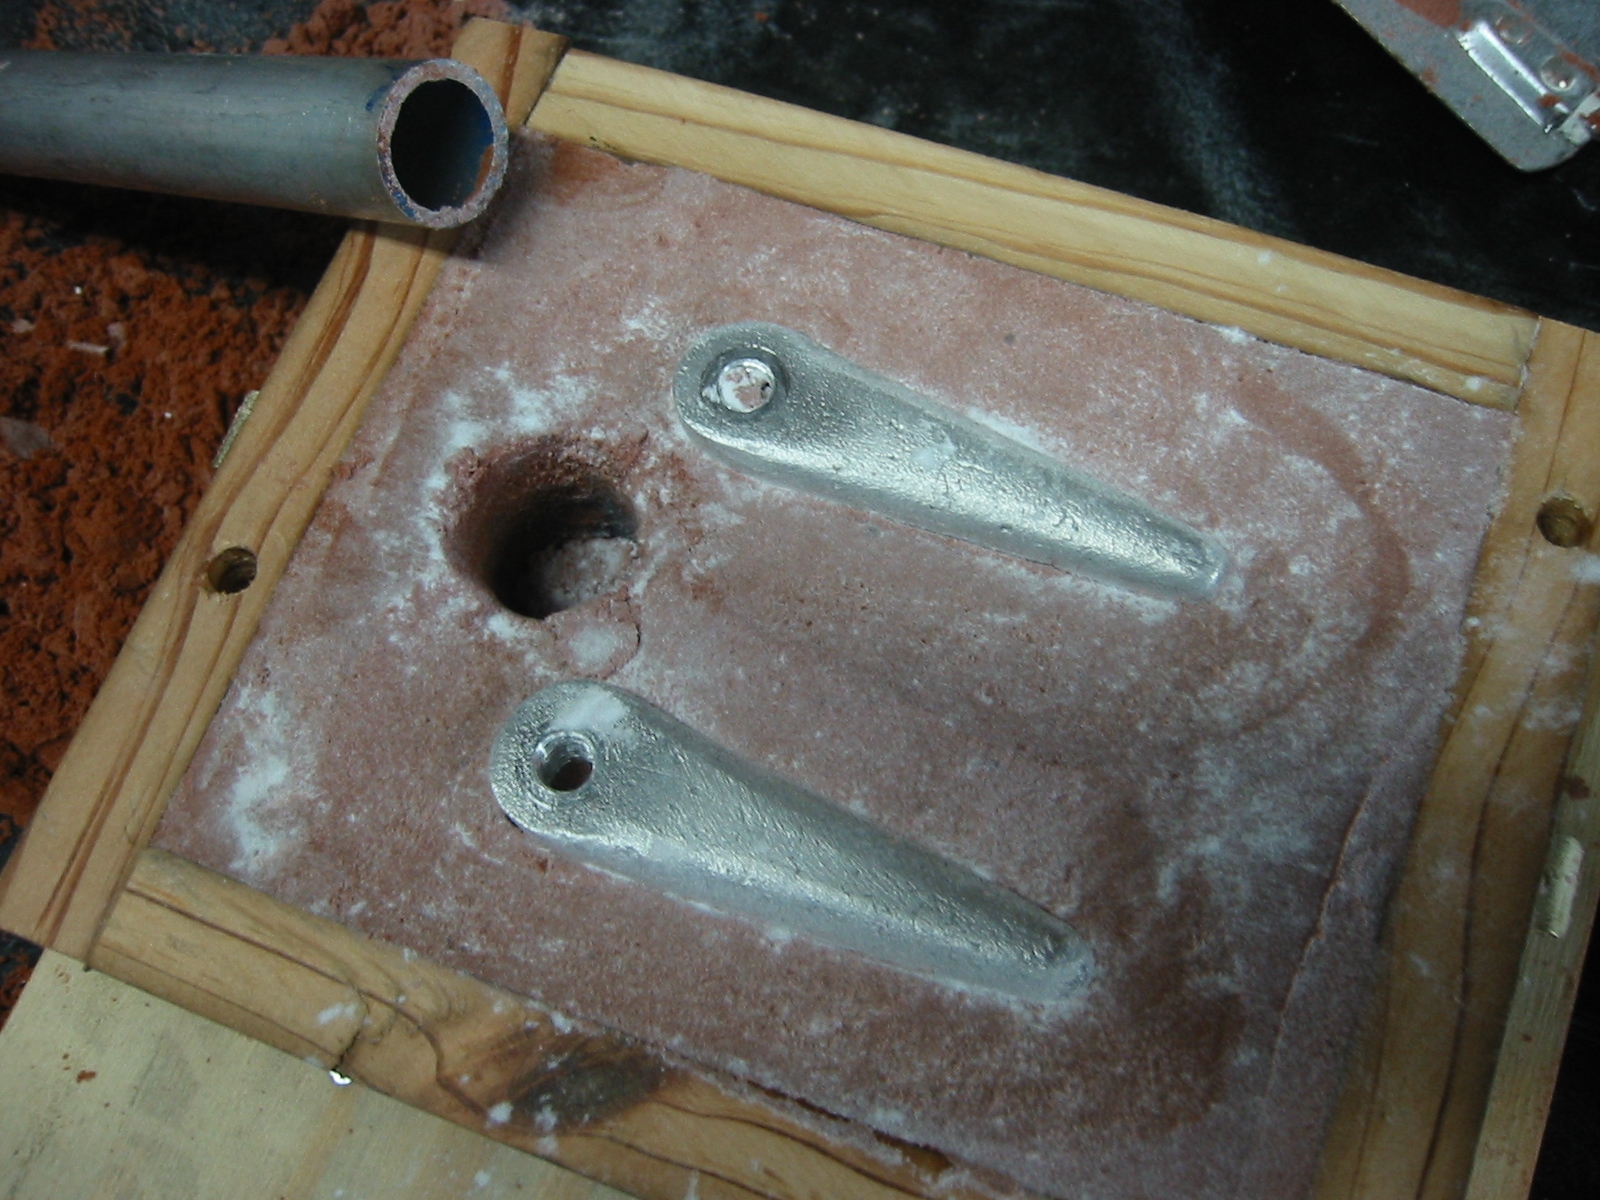
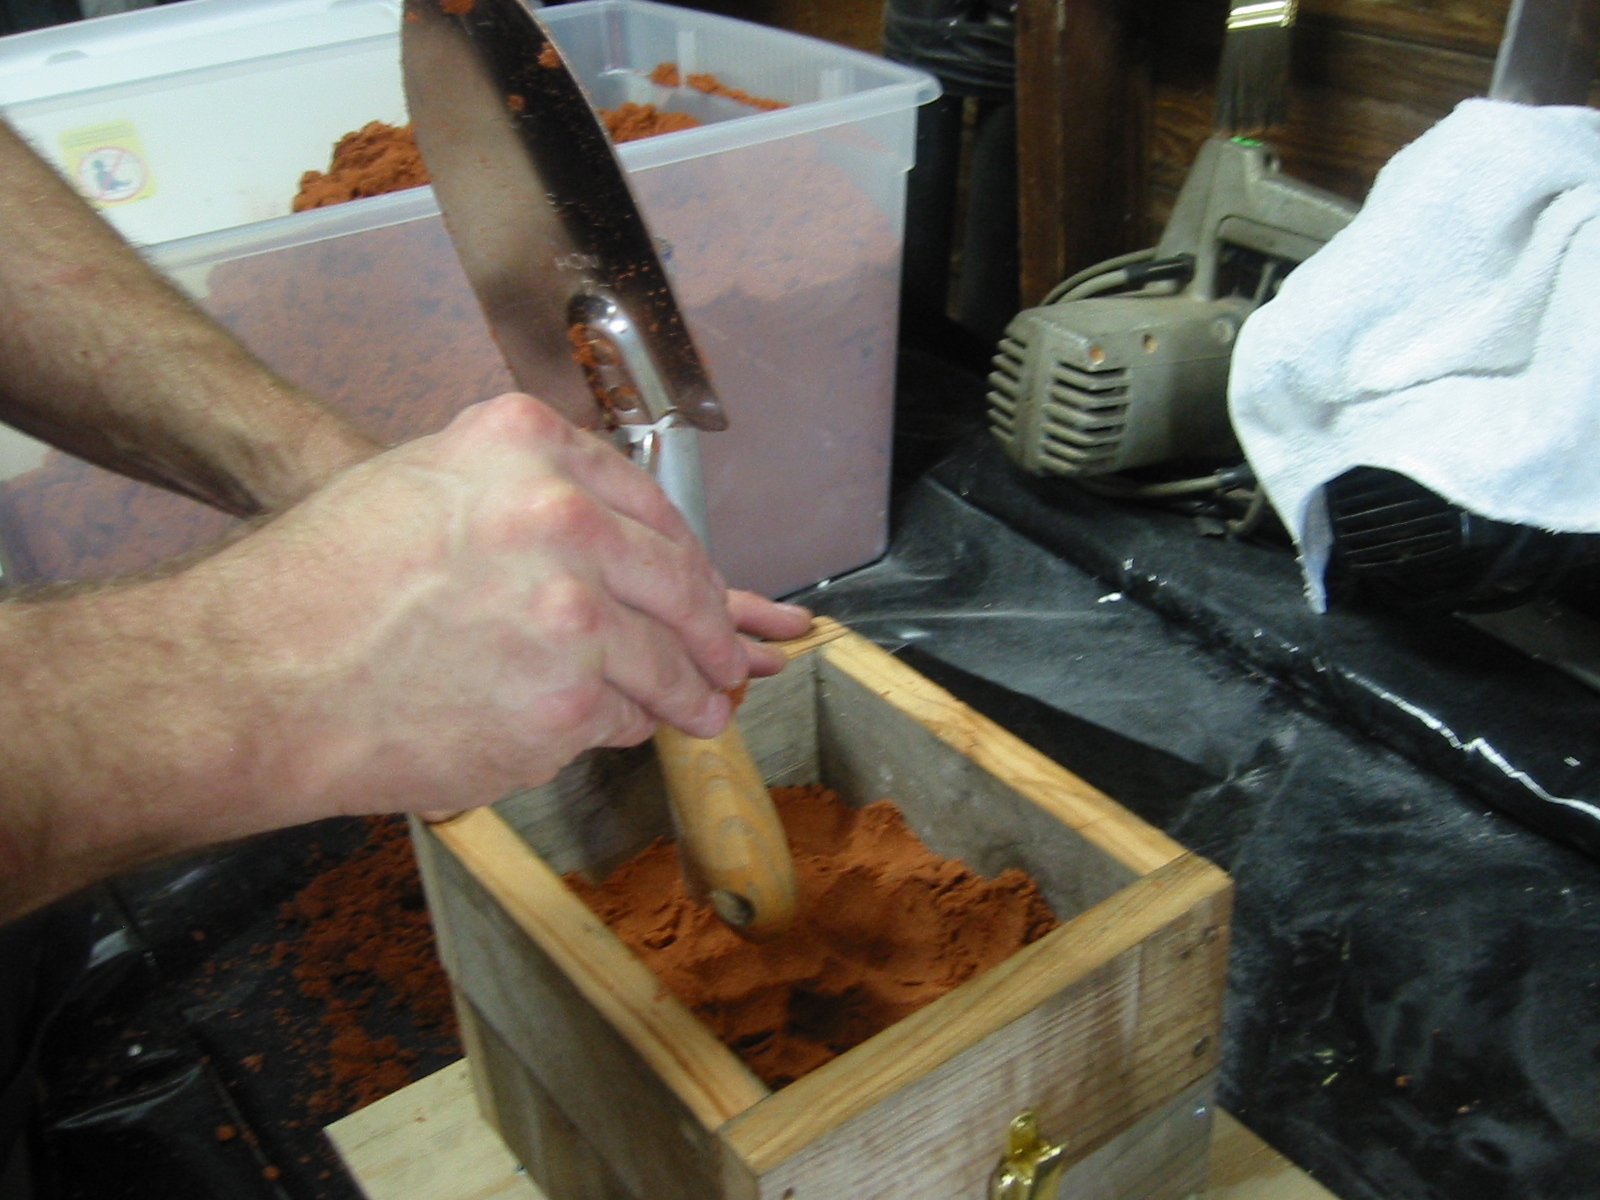
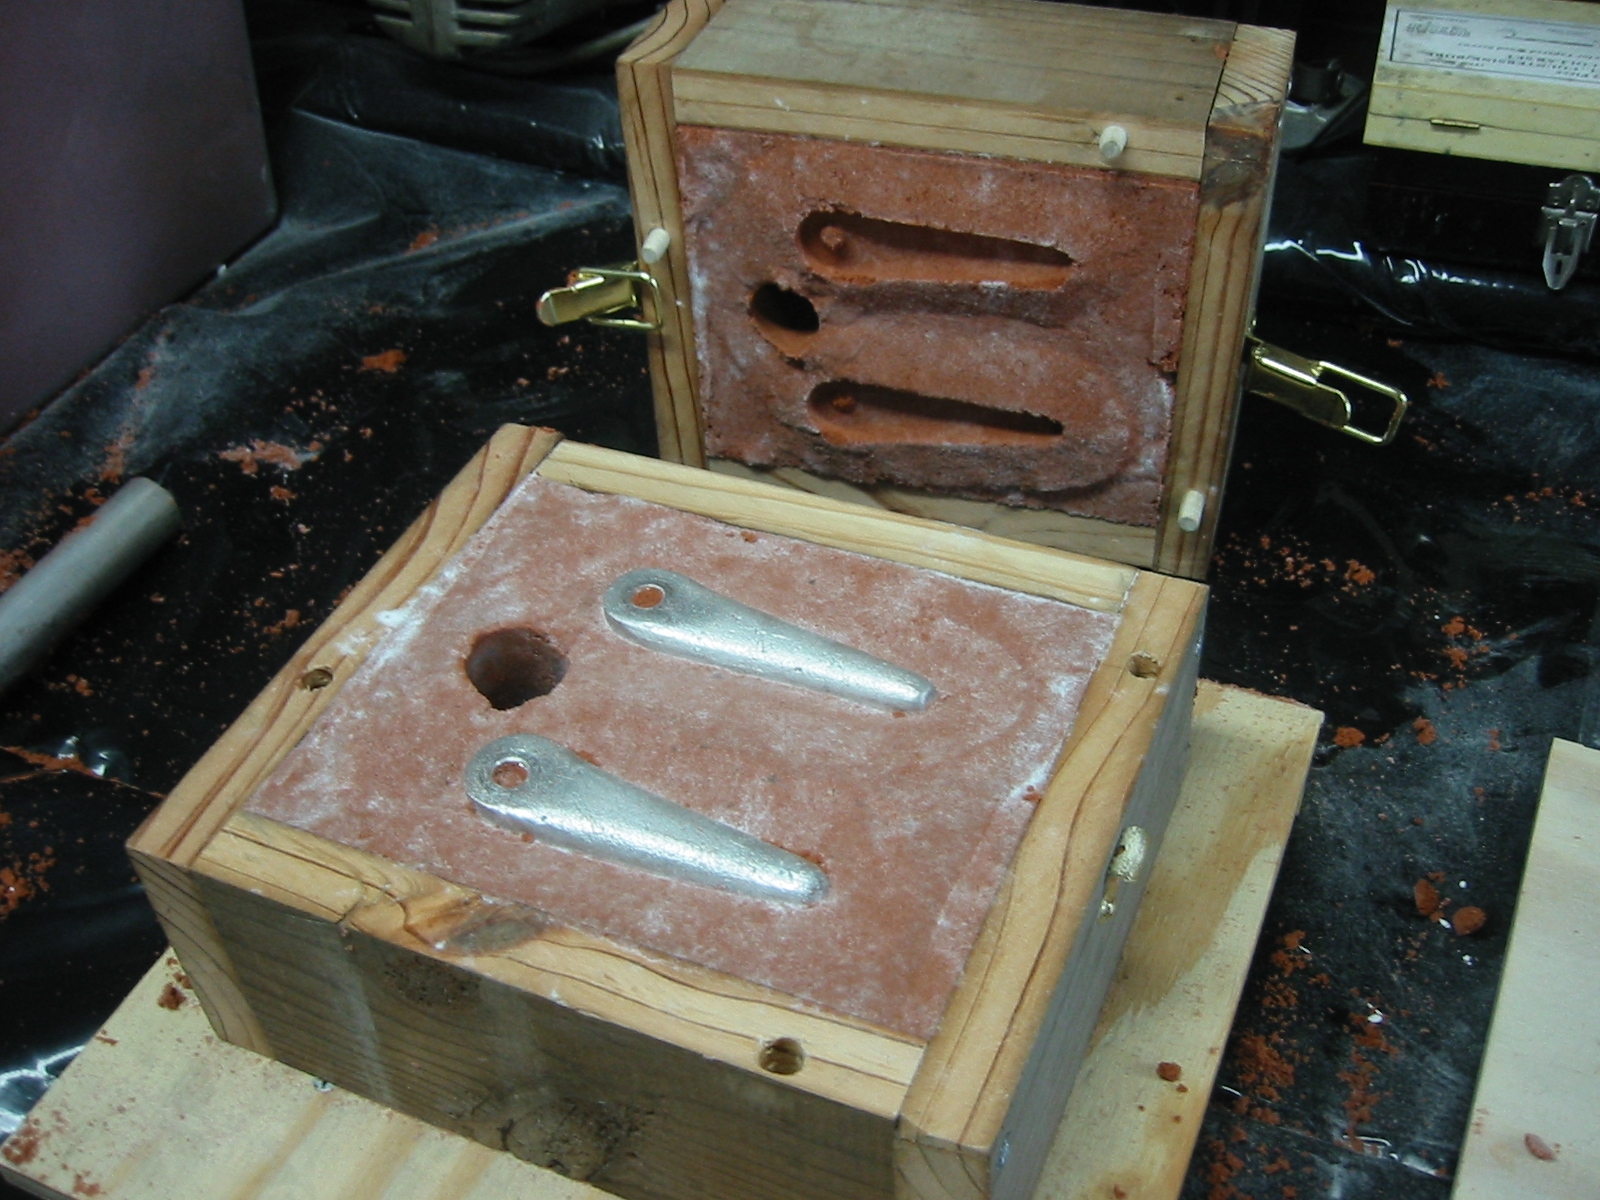
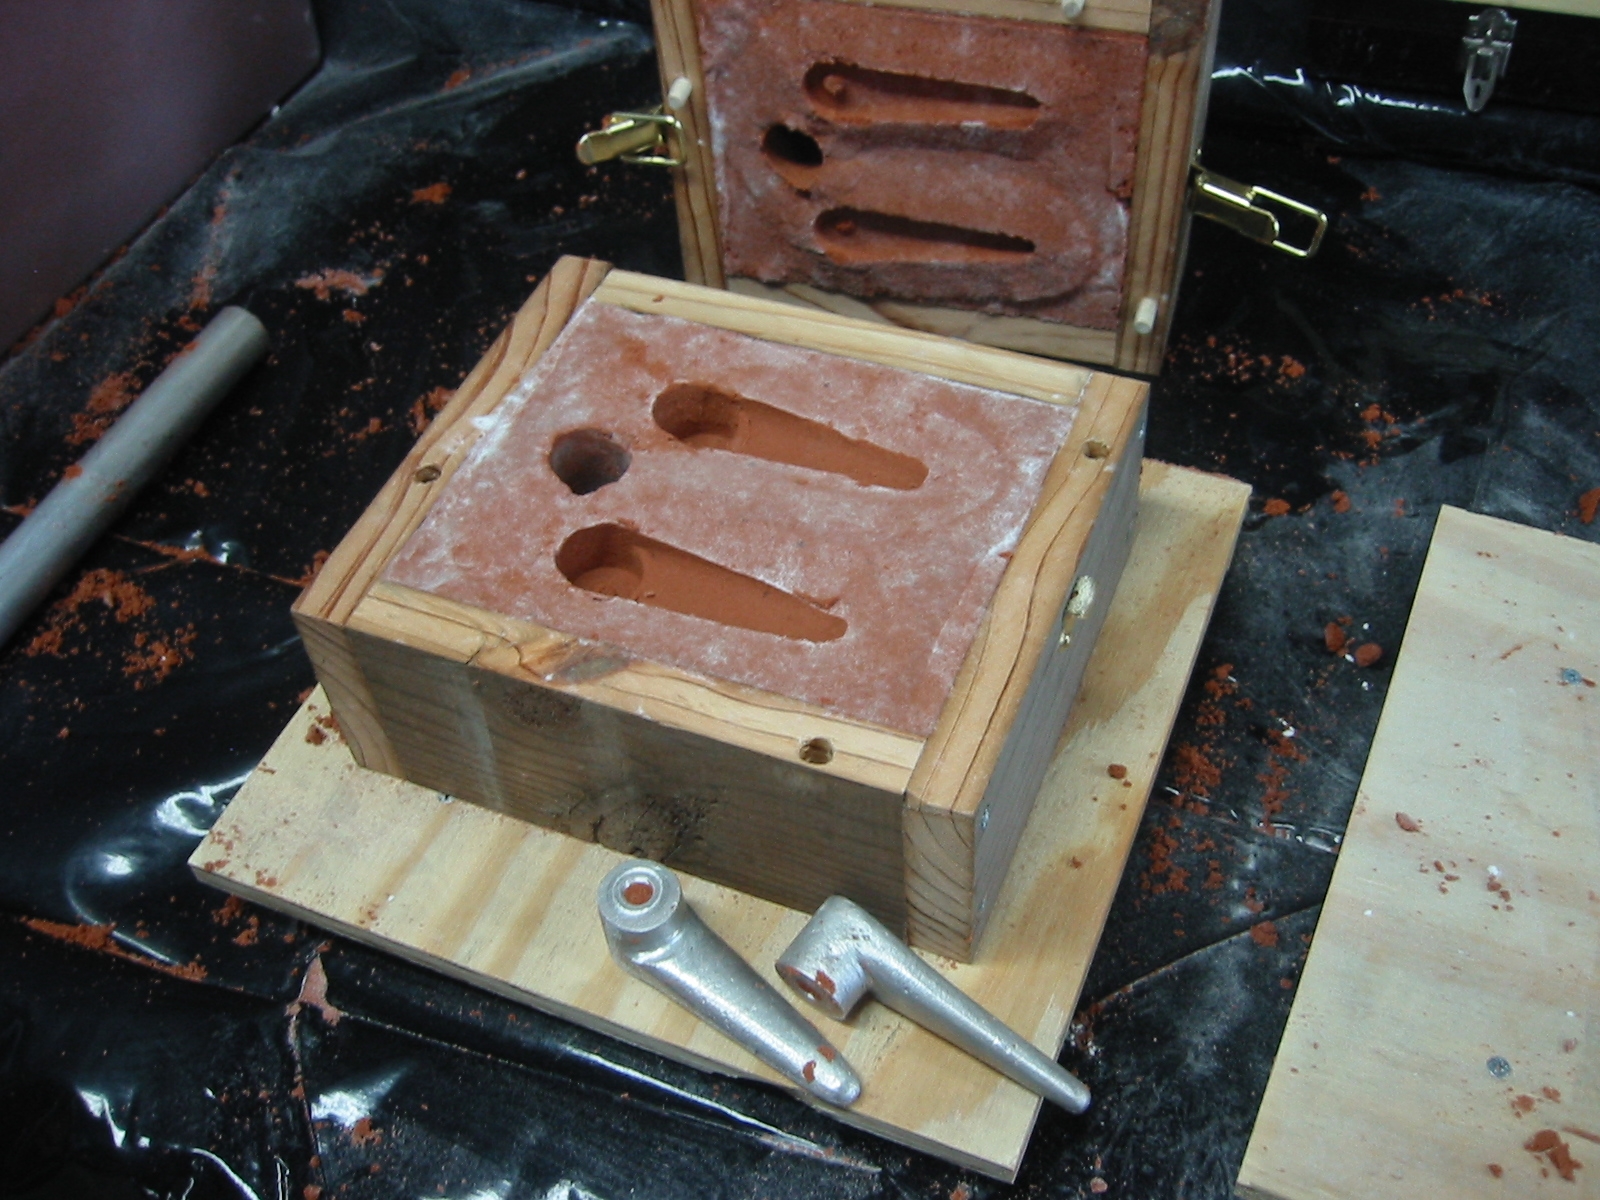
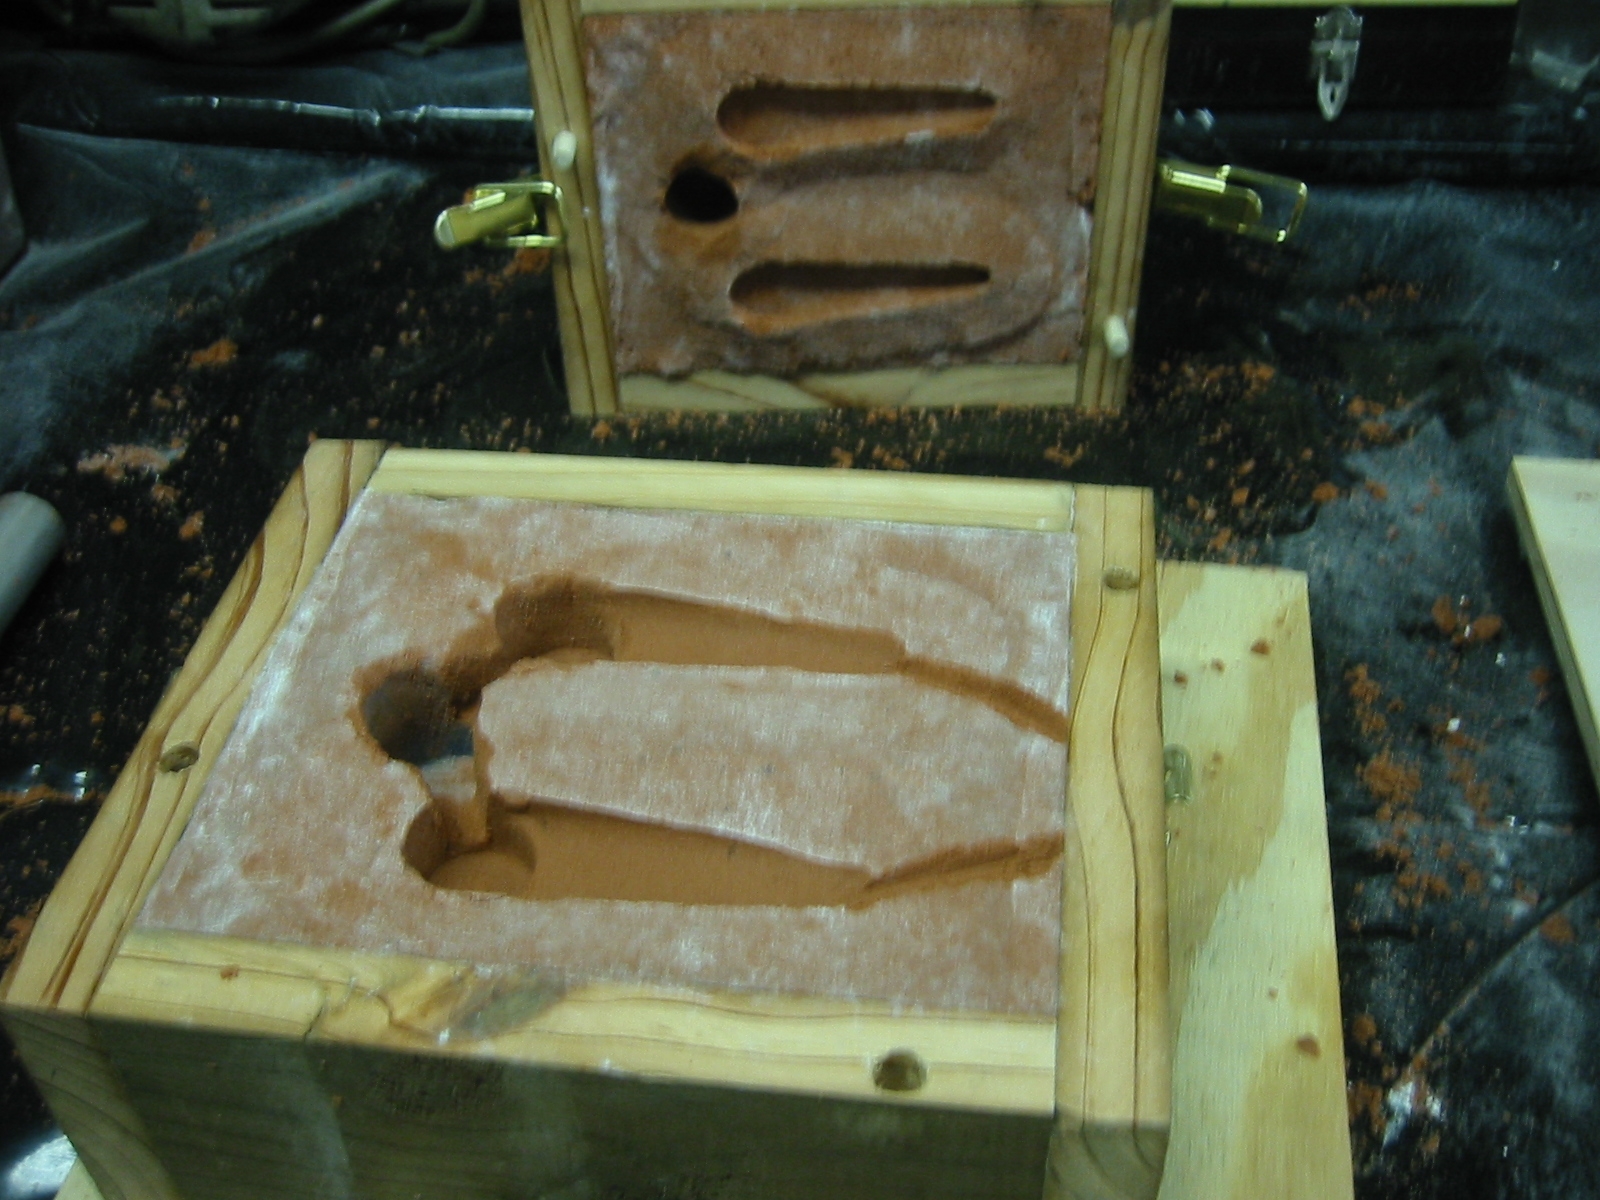
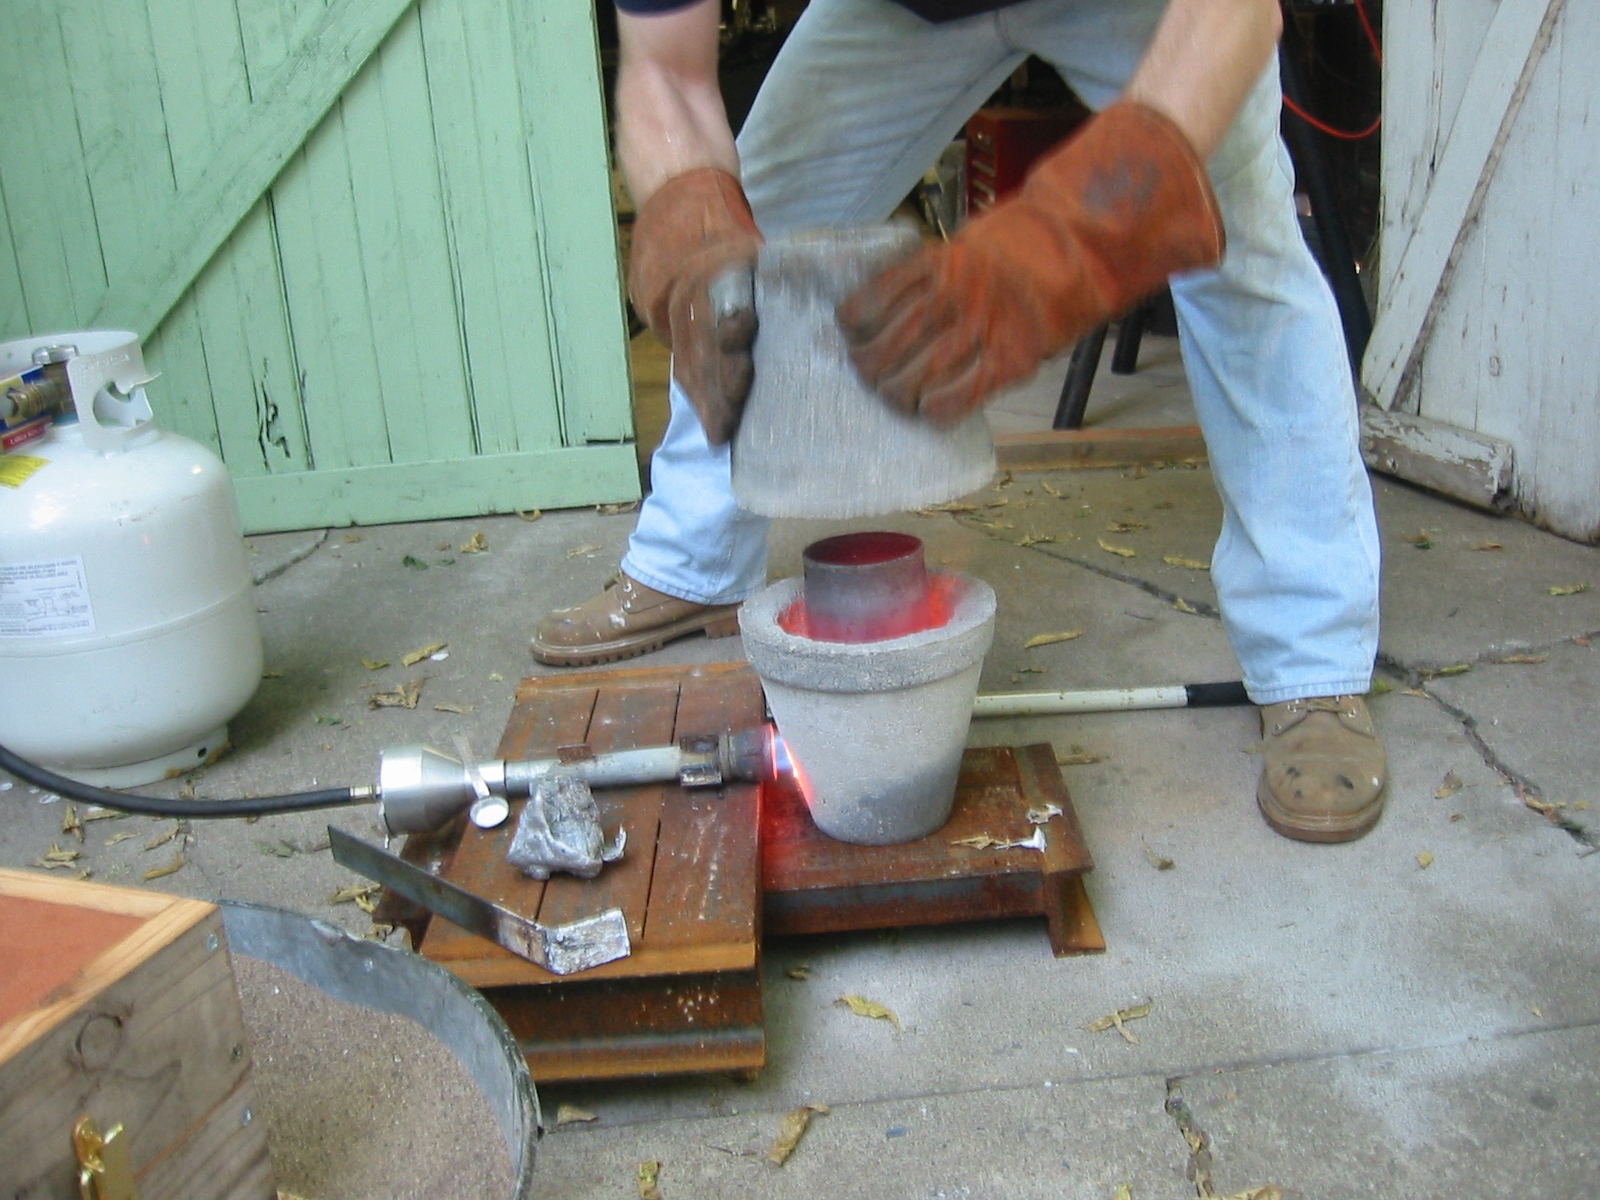
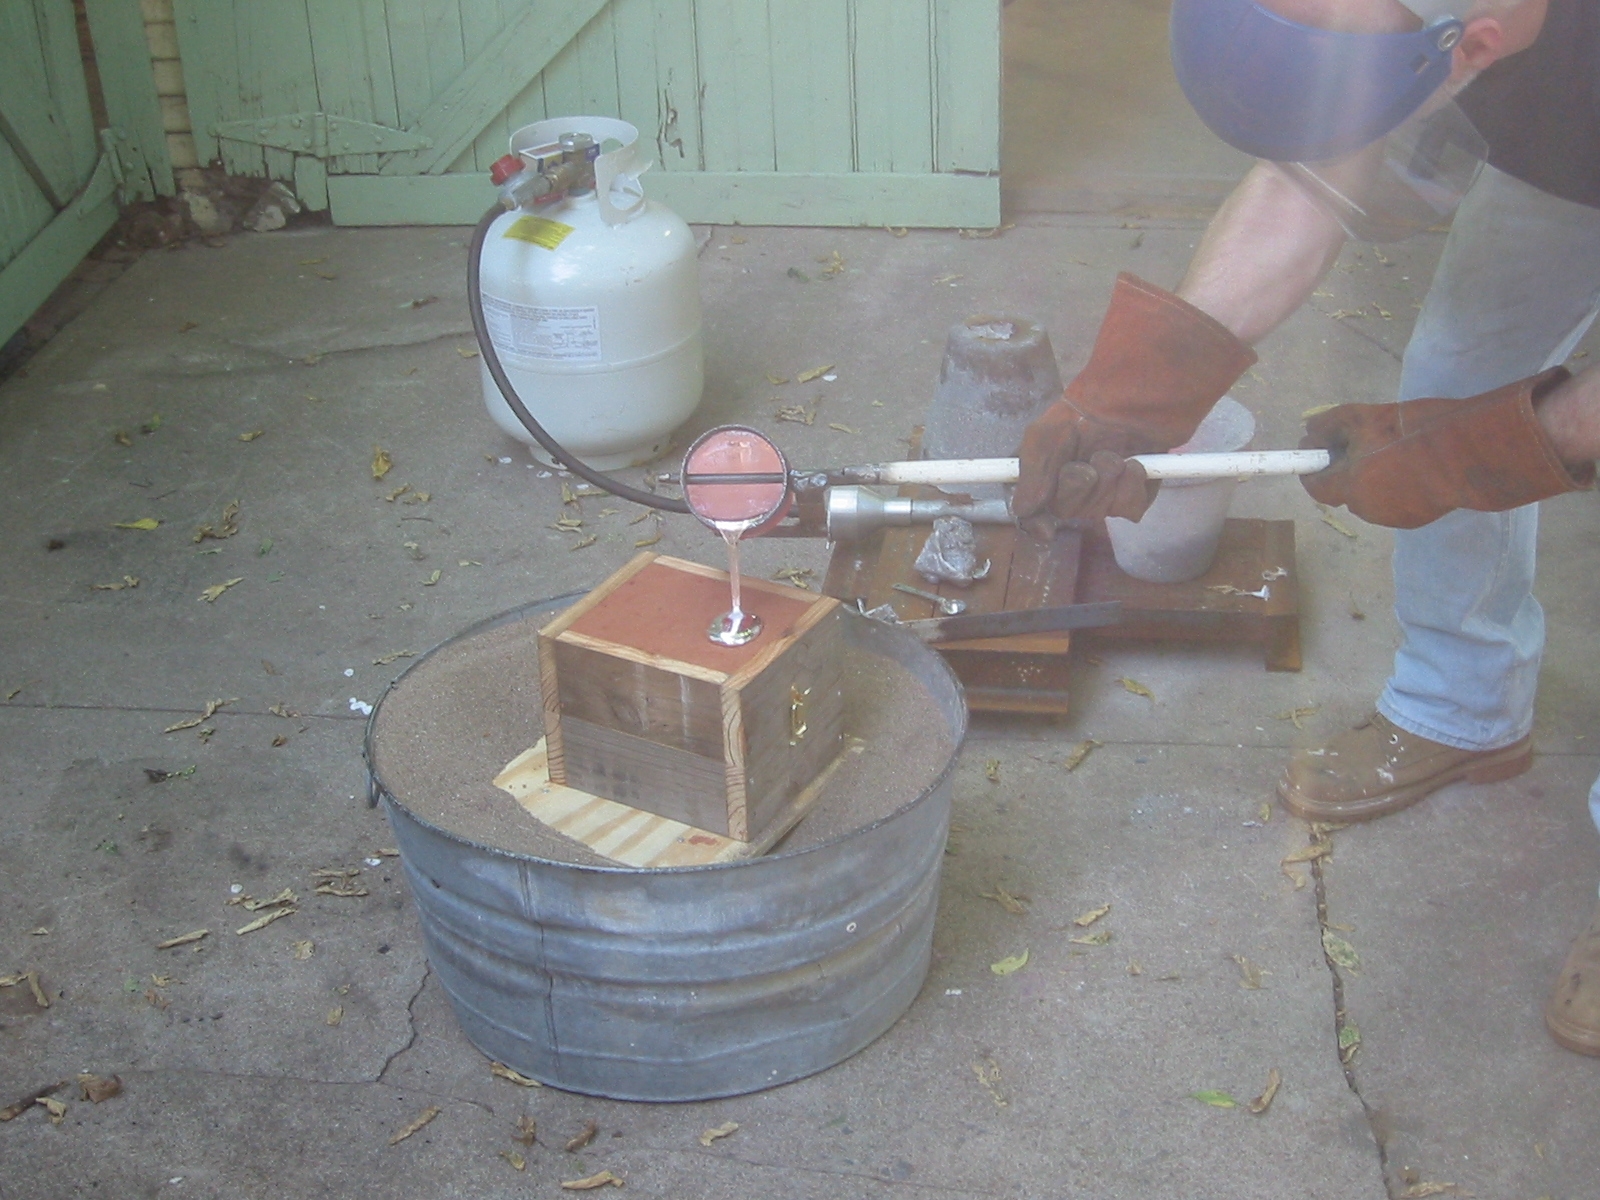
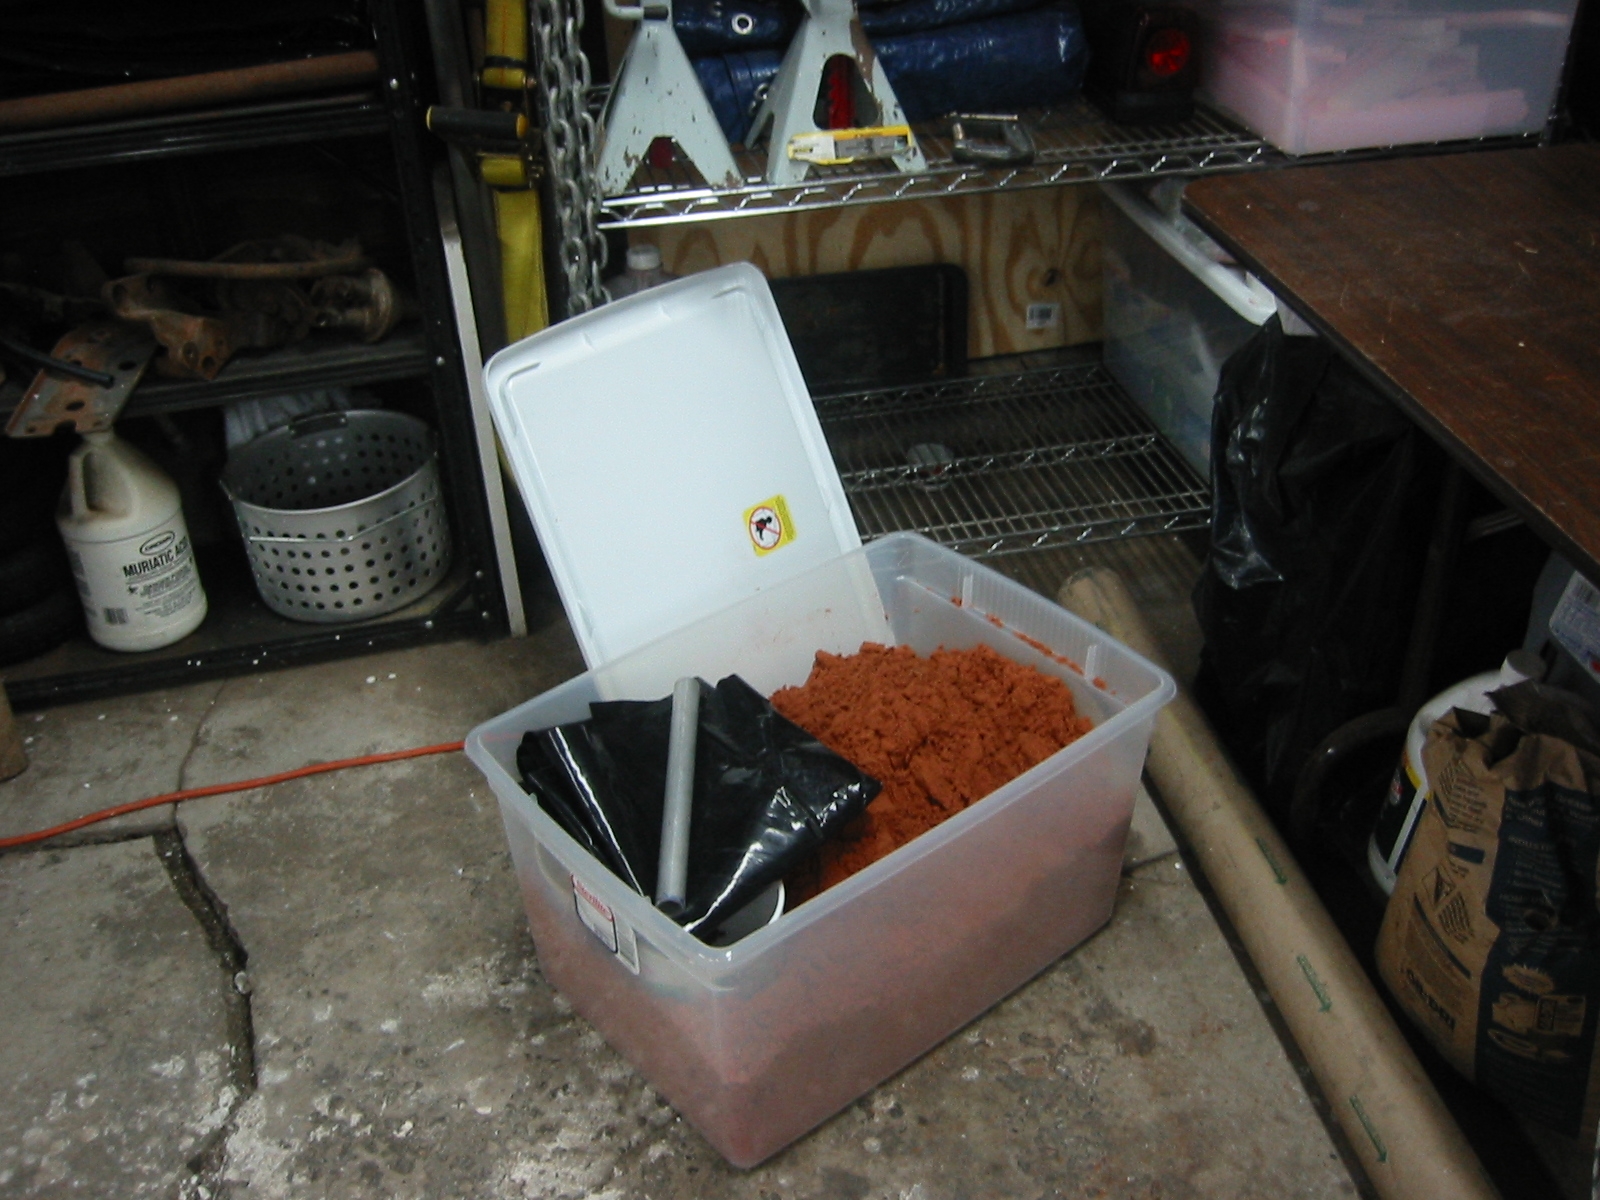
Sand CastingSand casting is a good option, if you already have a part. And you can draw a parting line on the part so that the both halves can be pulled from the sand without distorting the sand. Lots of people use green sand, but I almost everyone prefers Petro-Bond sand so I choose to skip green sand and go straight to Petro-Bond. The only problem with Petro-Bond is the price. With green sand I could have picked up the sand out of the Arkansas river that winds through Tulsa, Oklahoma and then added in some fire clay but instead I bit the bullet and paid $100 for 100 pounds pre mixed Petro-Bond. The price included shipping from a near by supplier. If you order Petro-Bond, note that you want the pre mix and not Petro-Bond II which is just the additive that is added to the sand. Mixing it by hand is also not recommended because it really requires a muller mixer to do right. If you want to go with green sand, there are good detailed instructions at www.backyardmetalcasting.com.
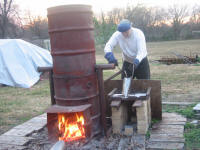
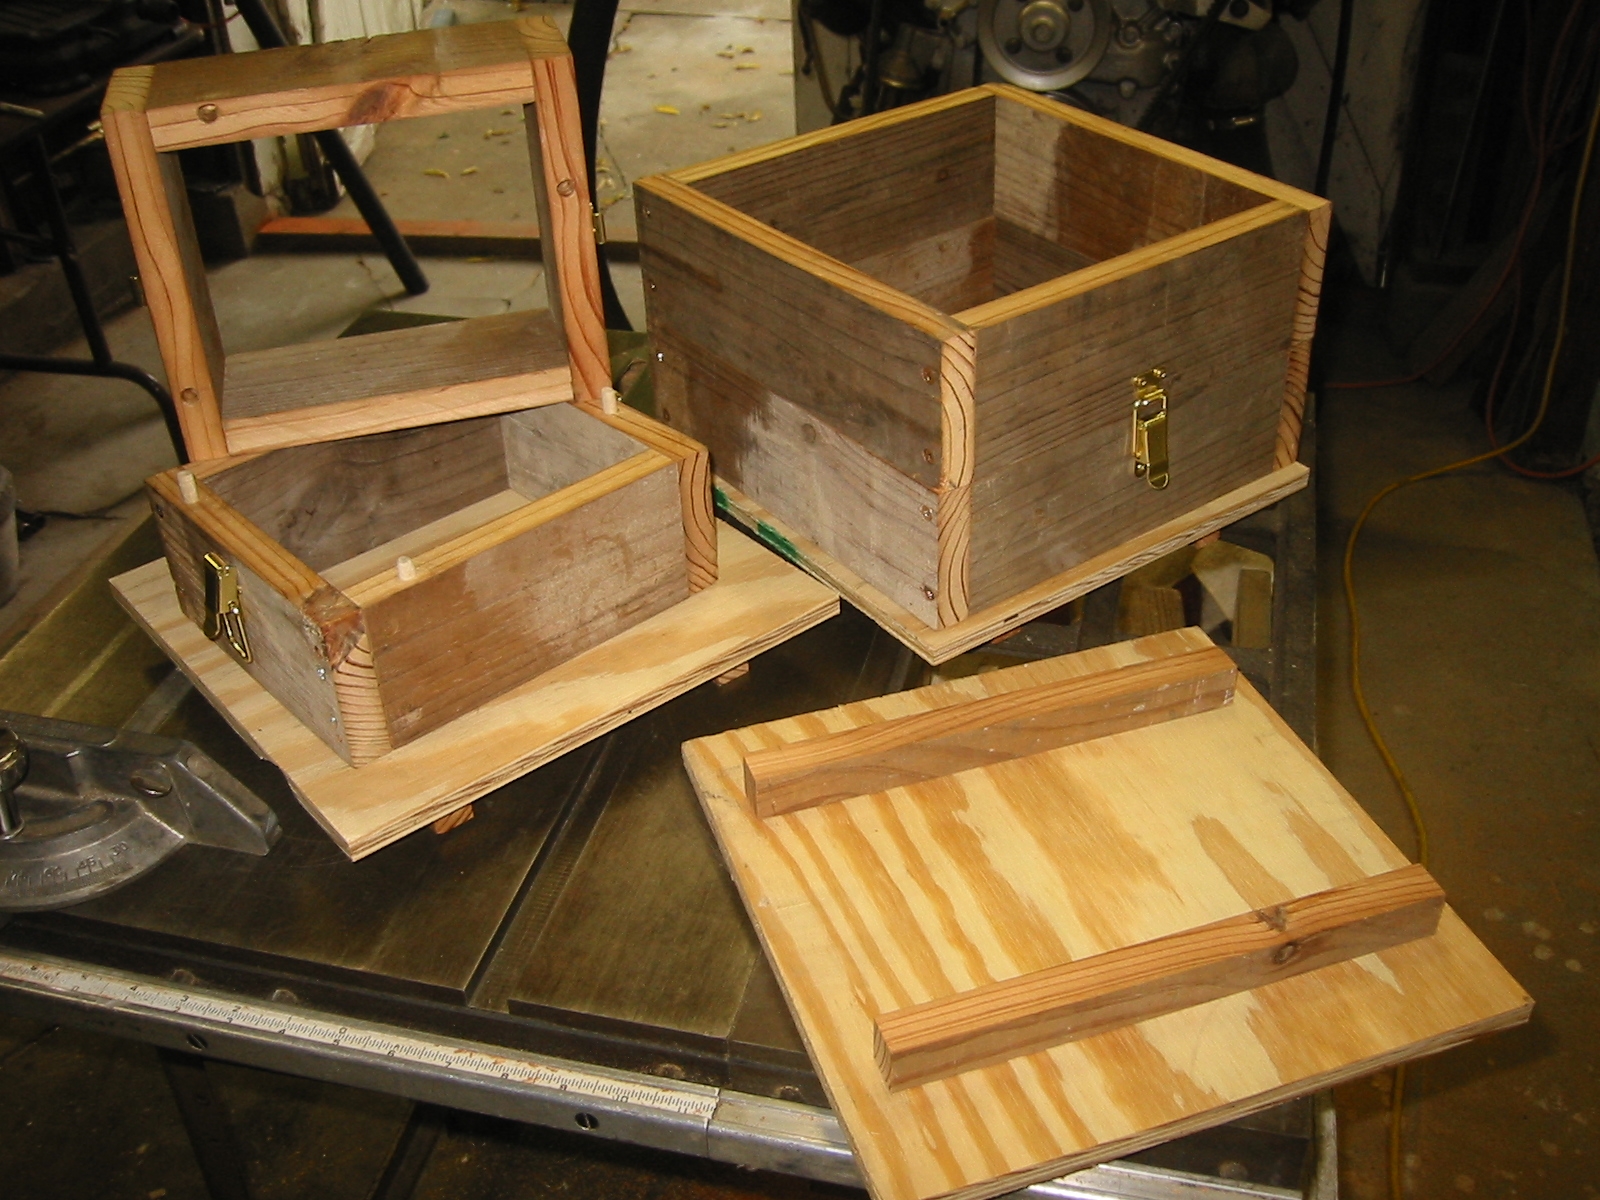
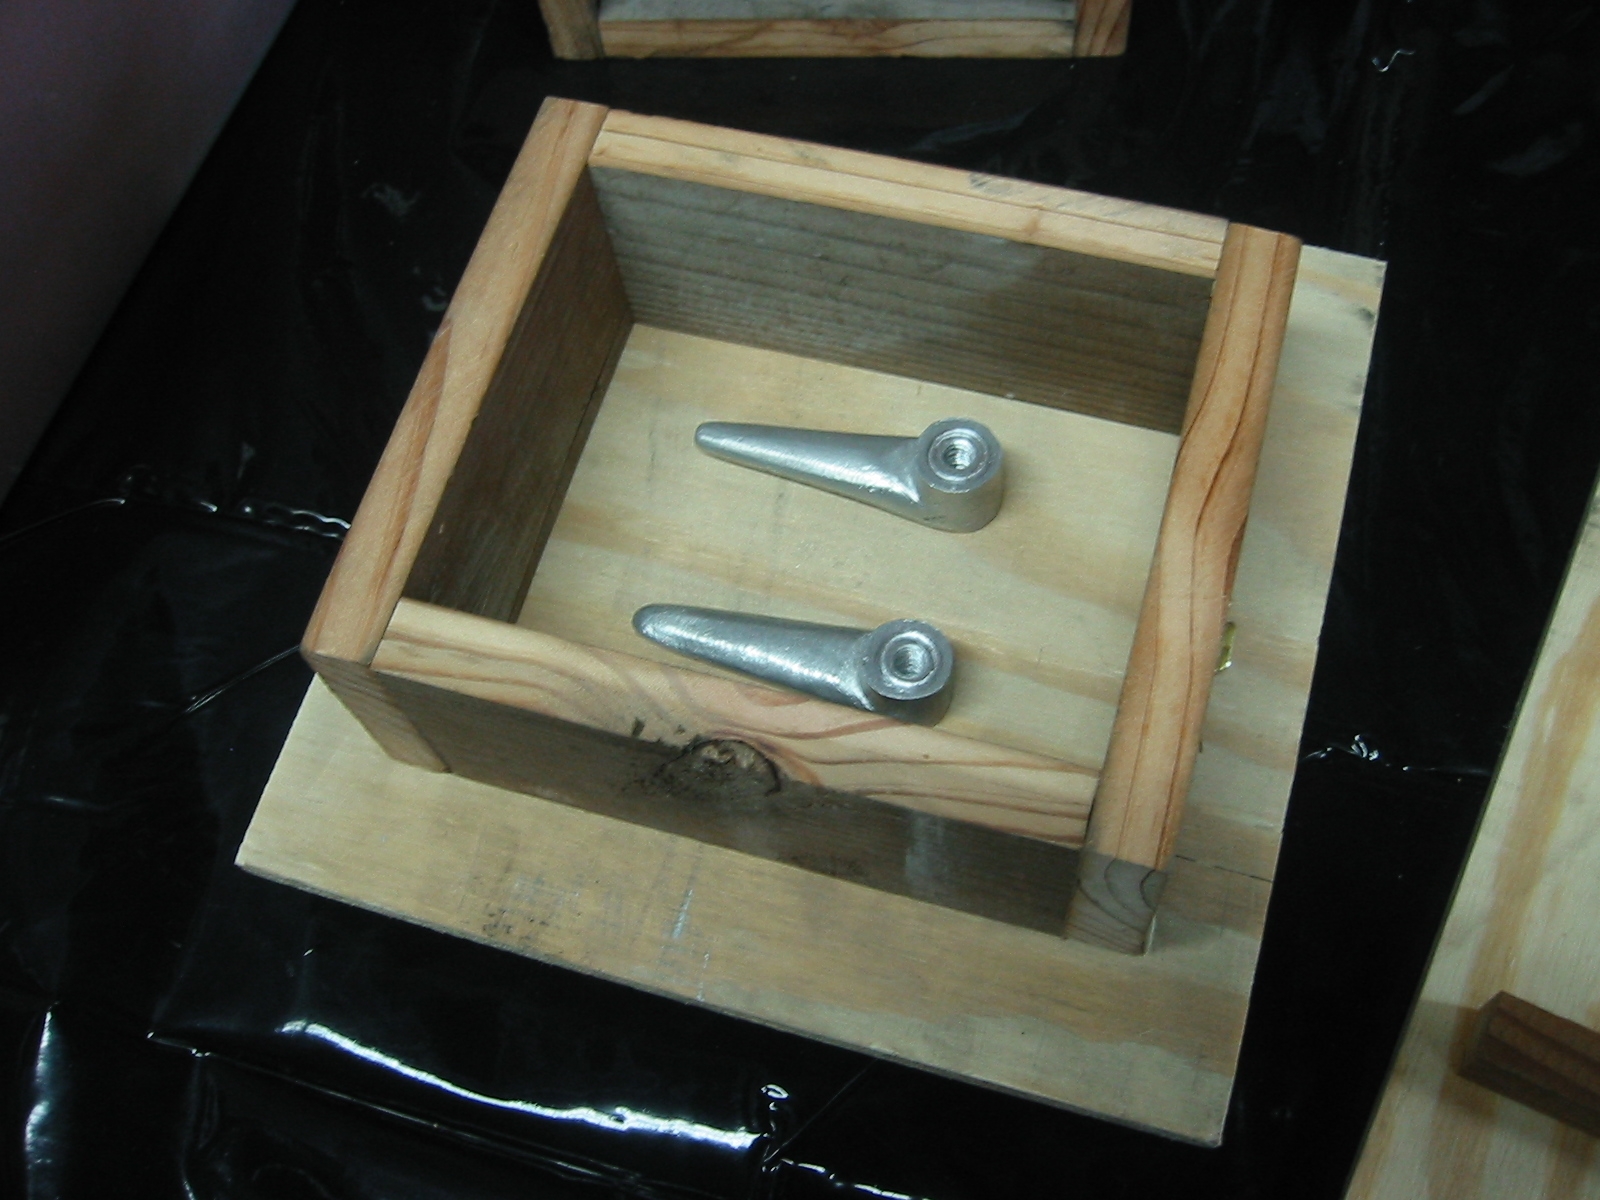
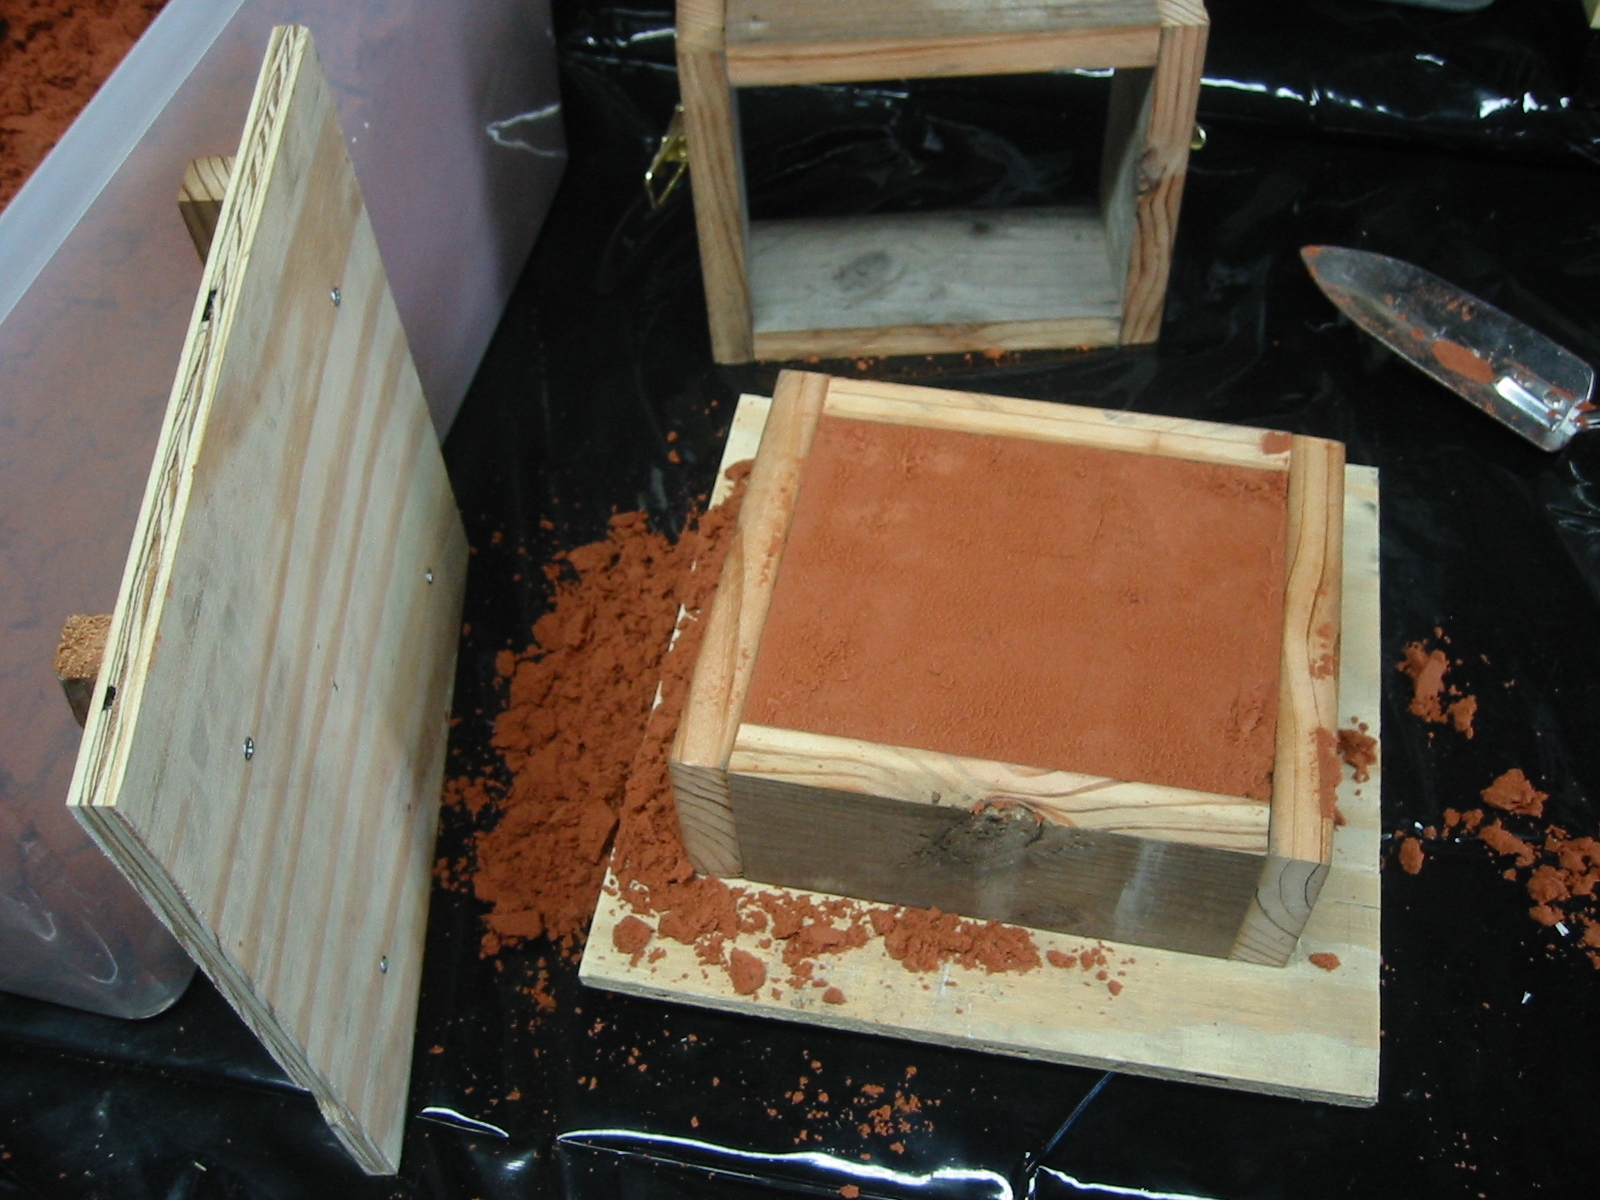
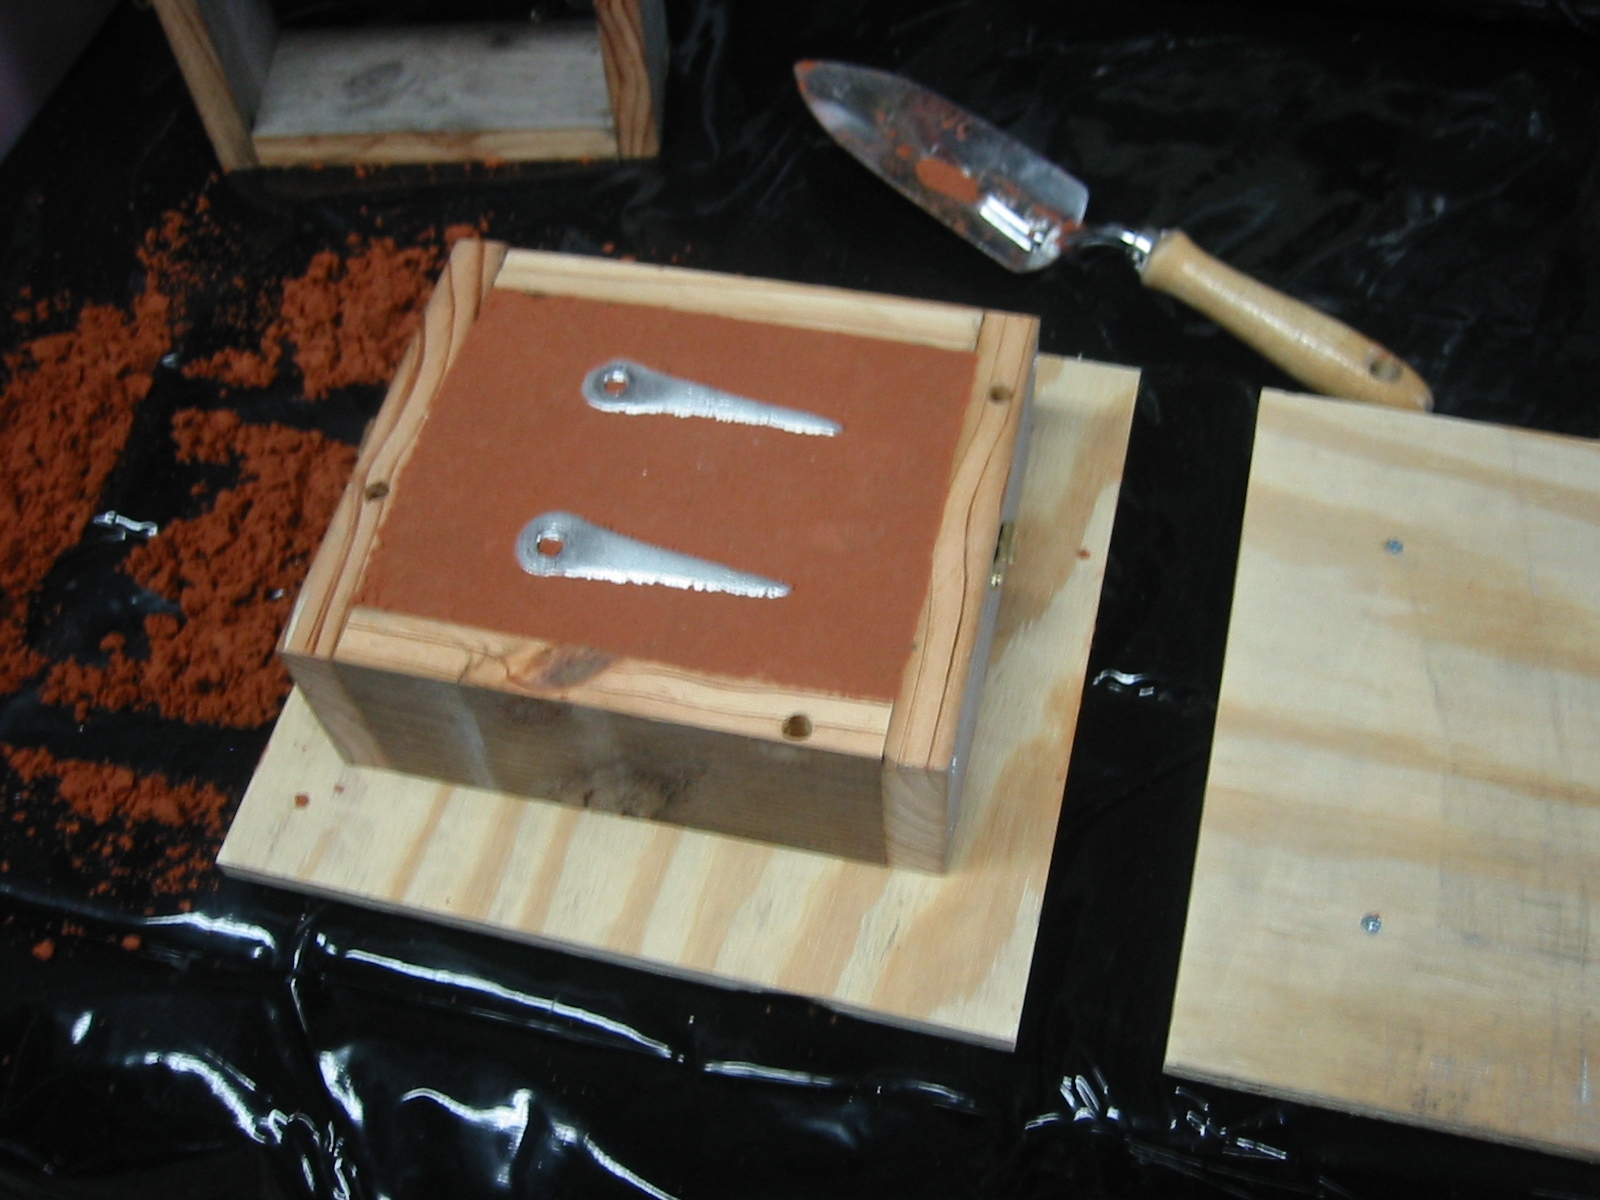
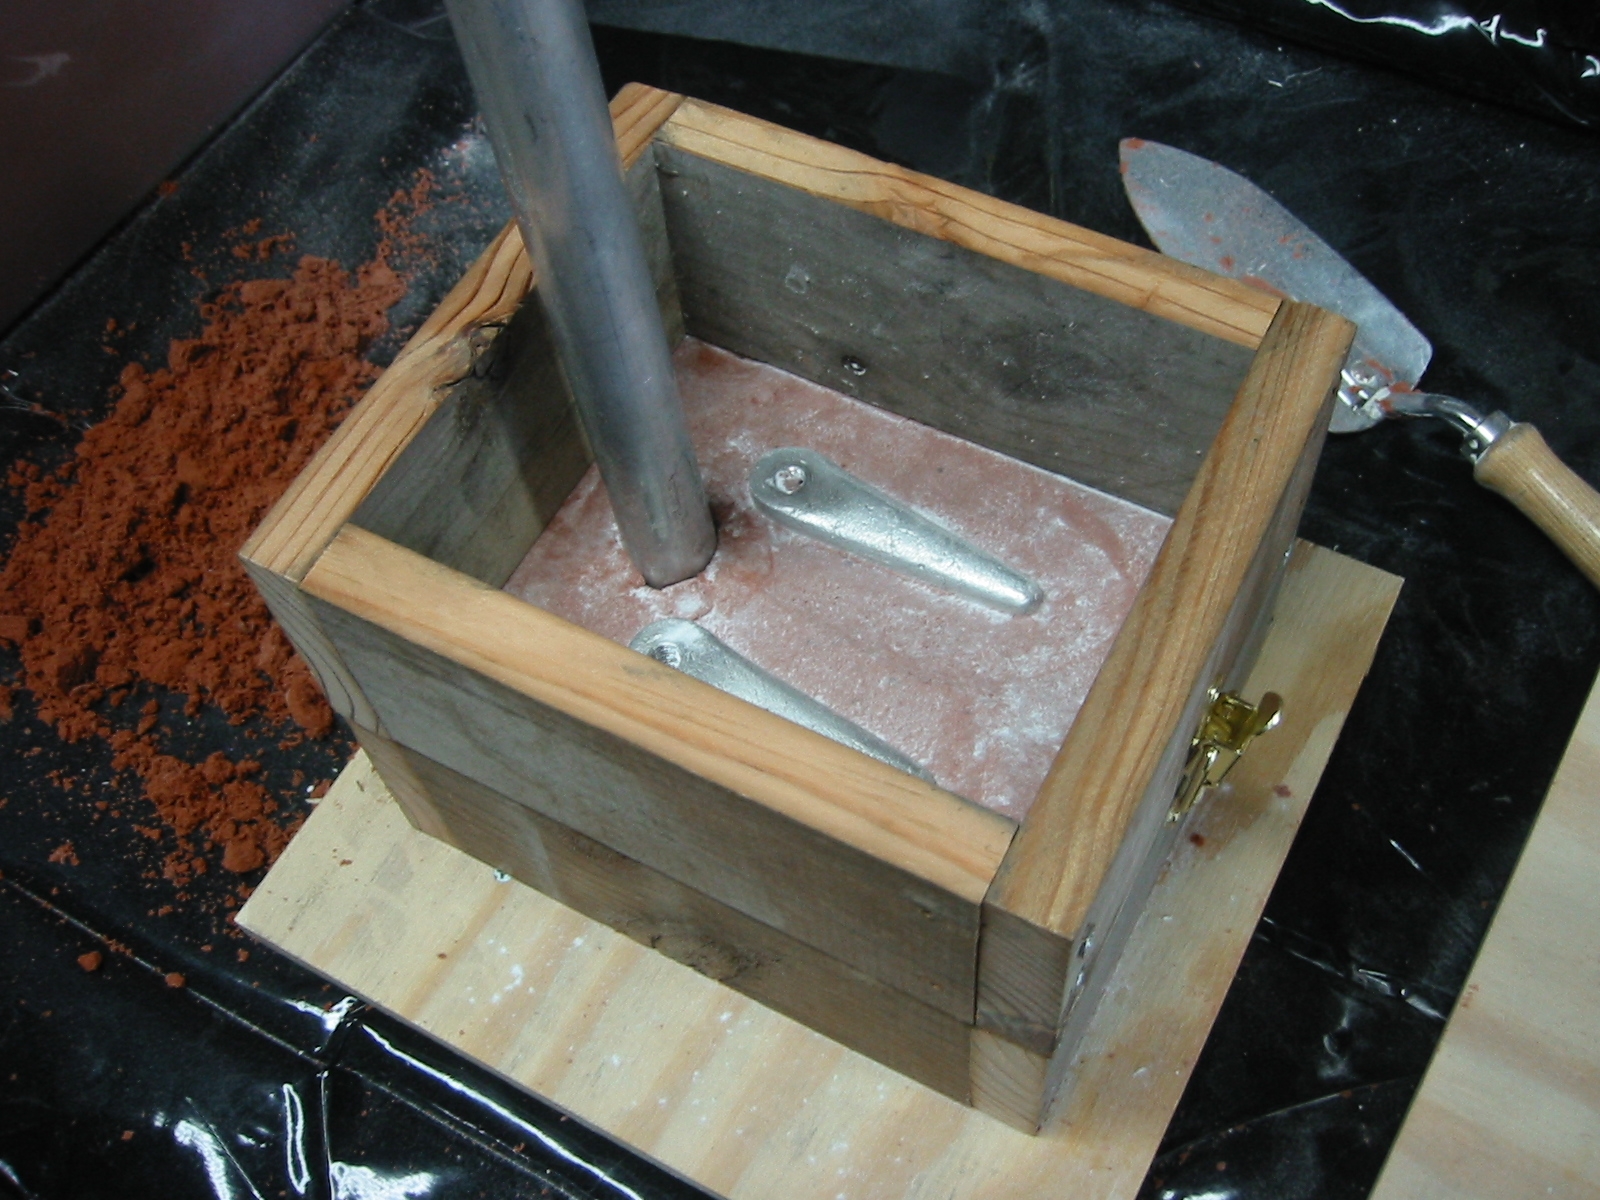
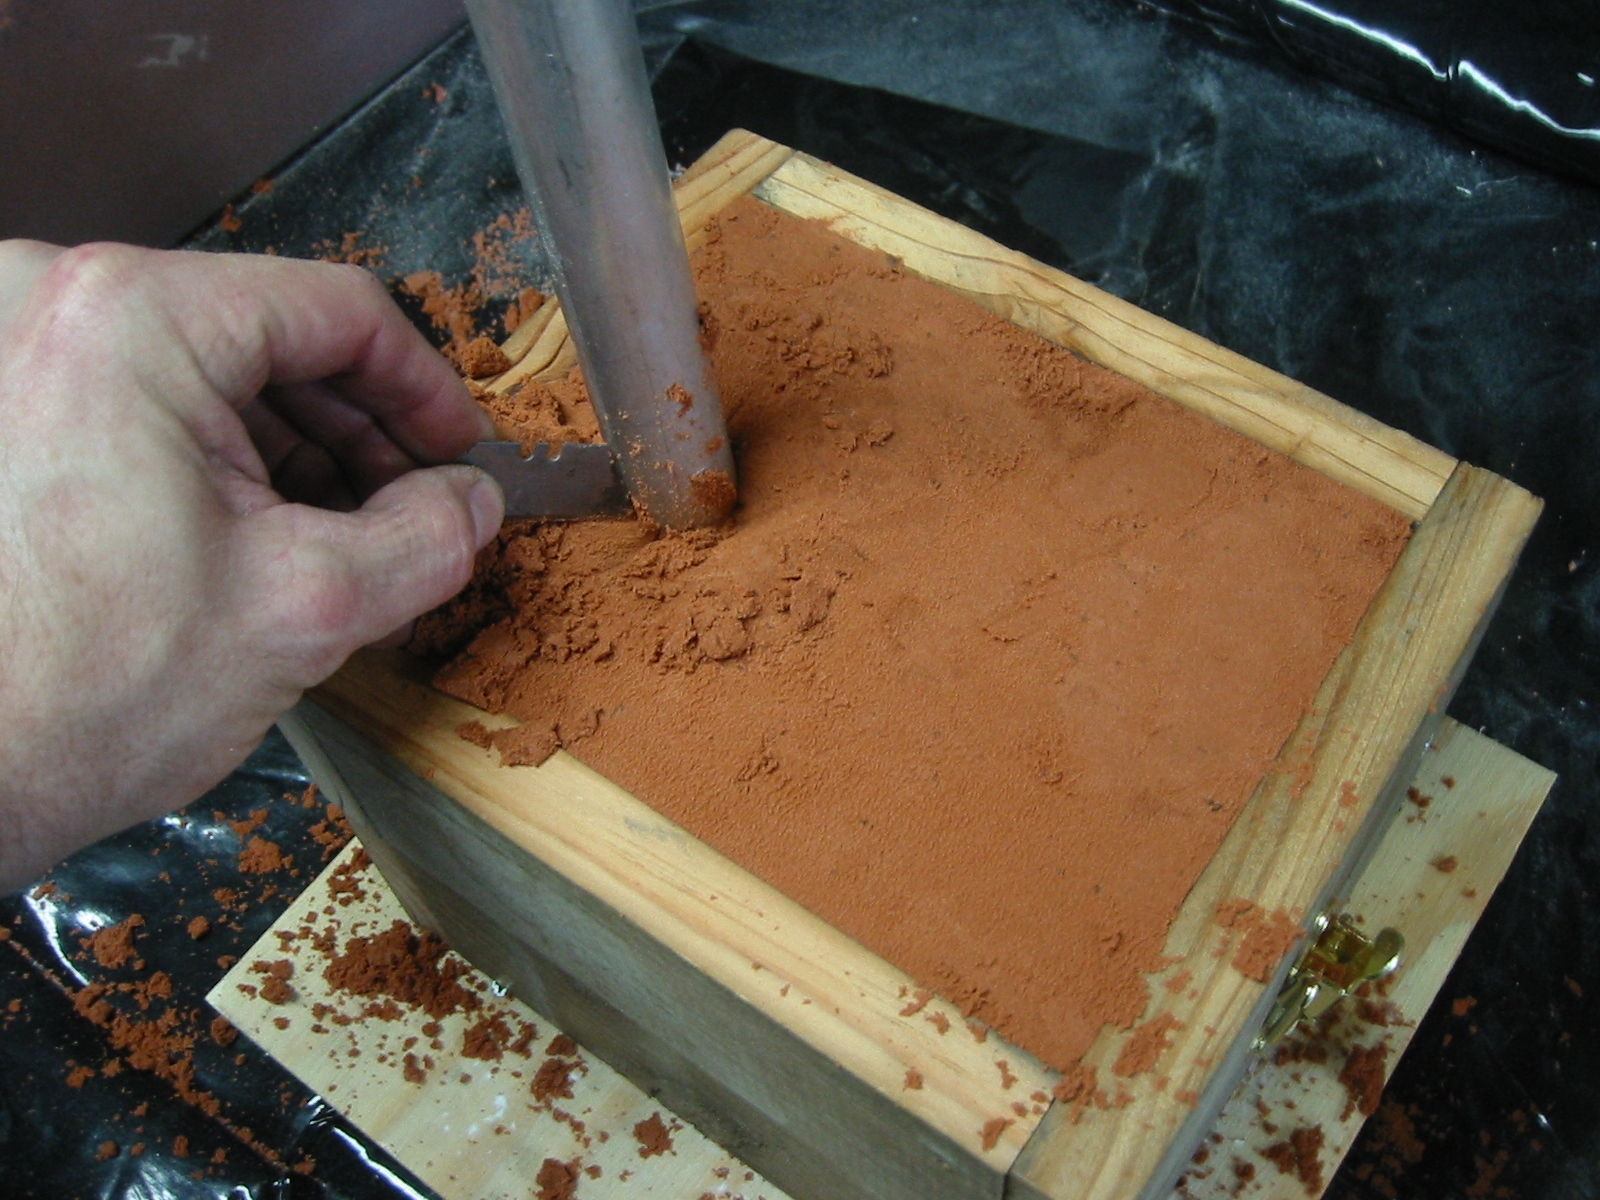
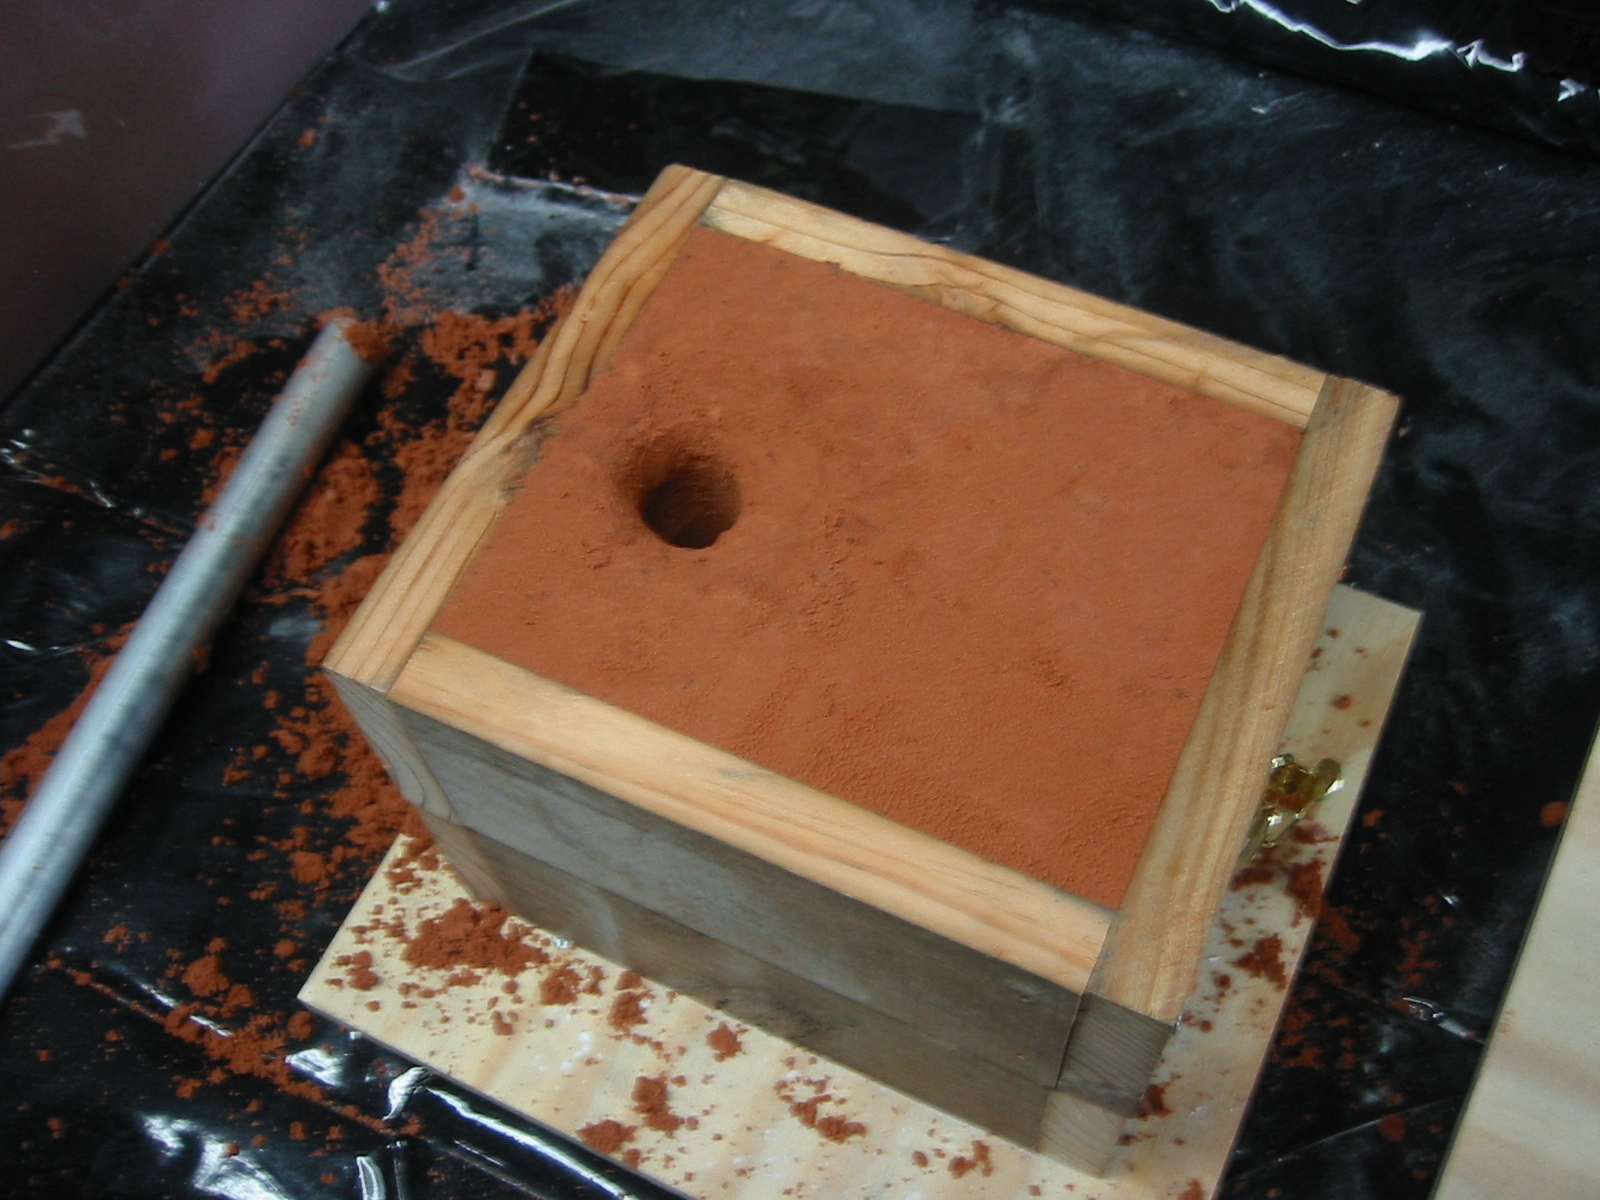
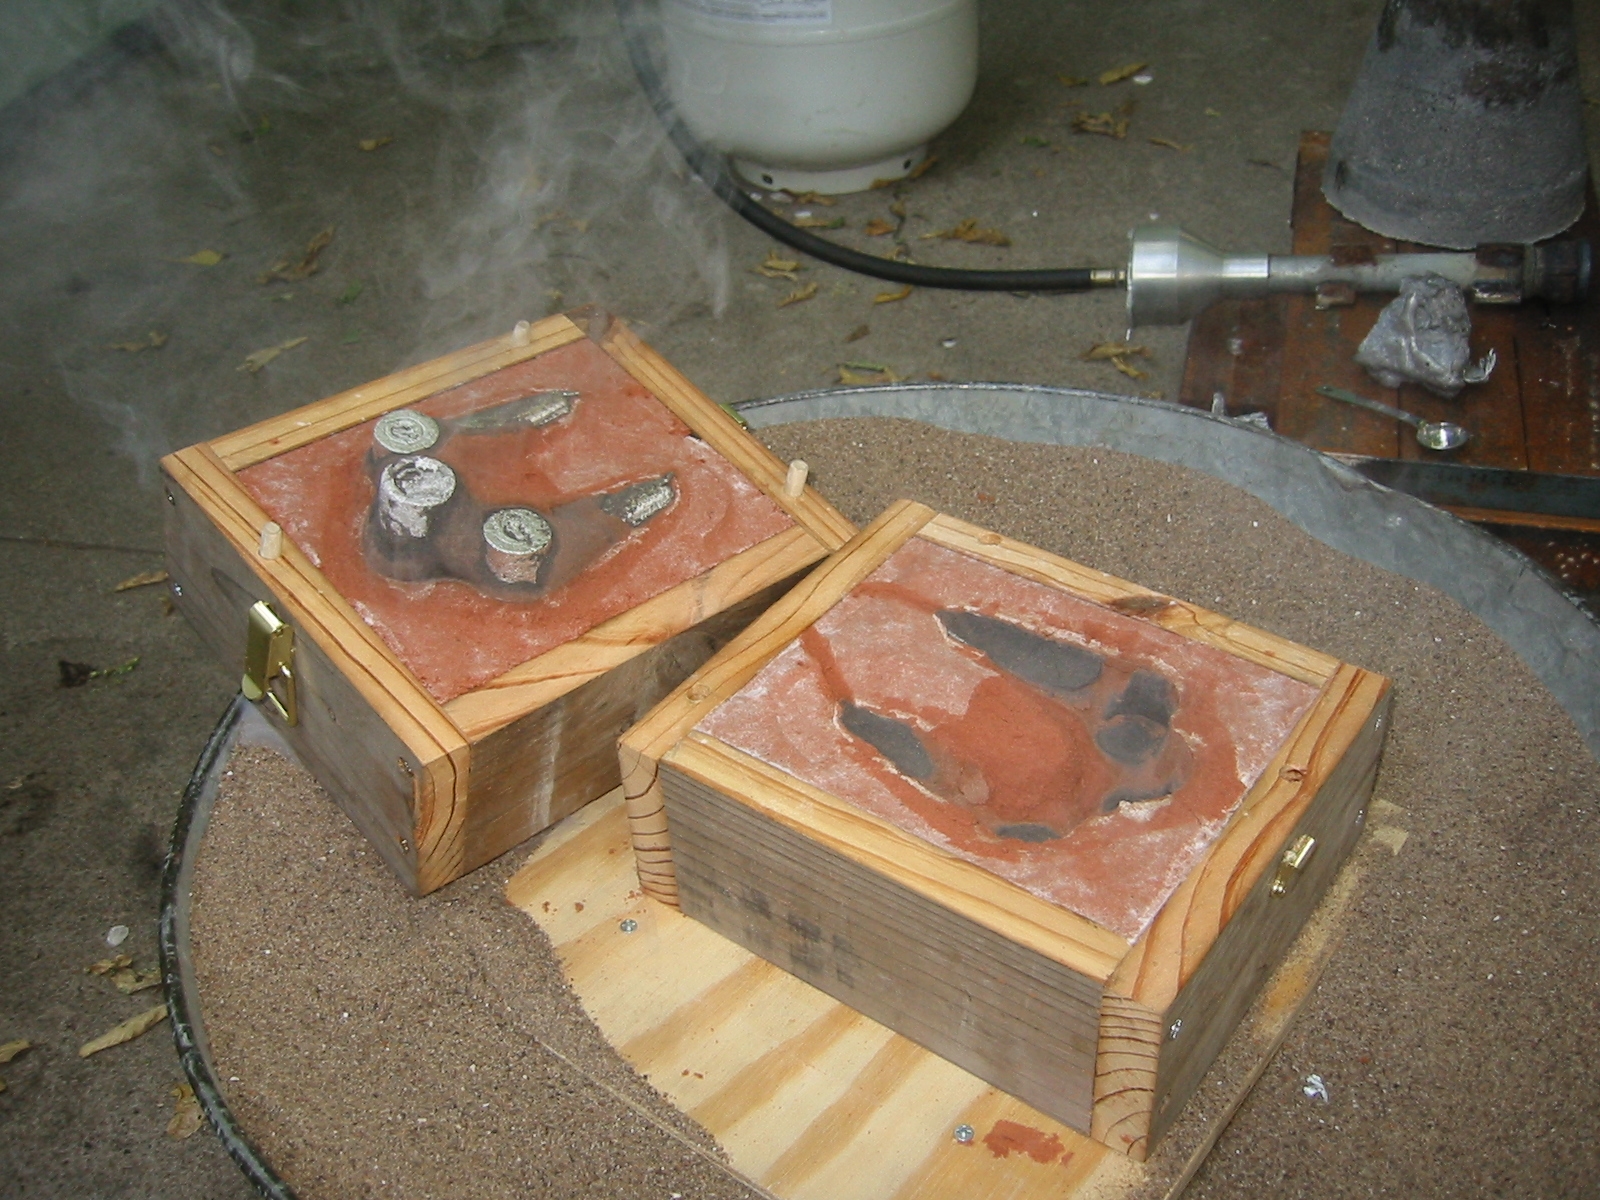
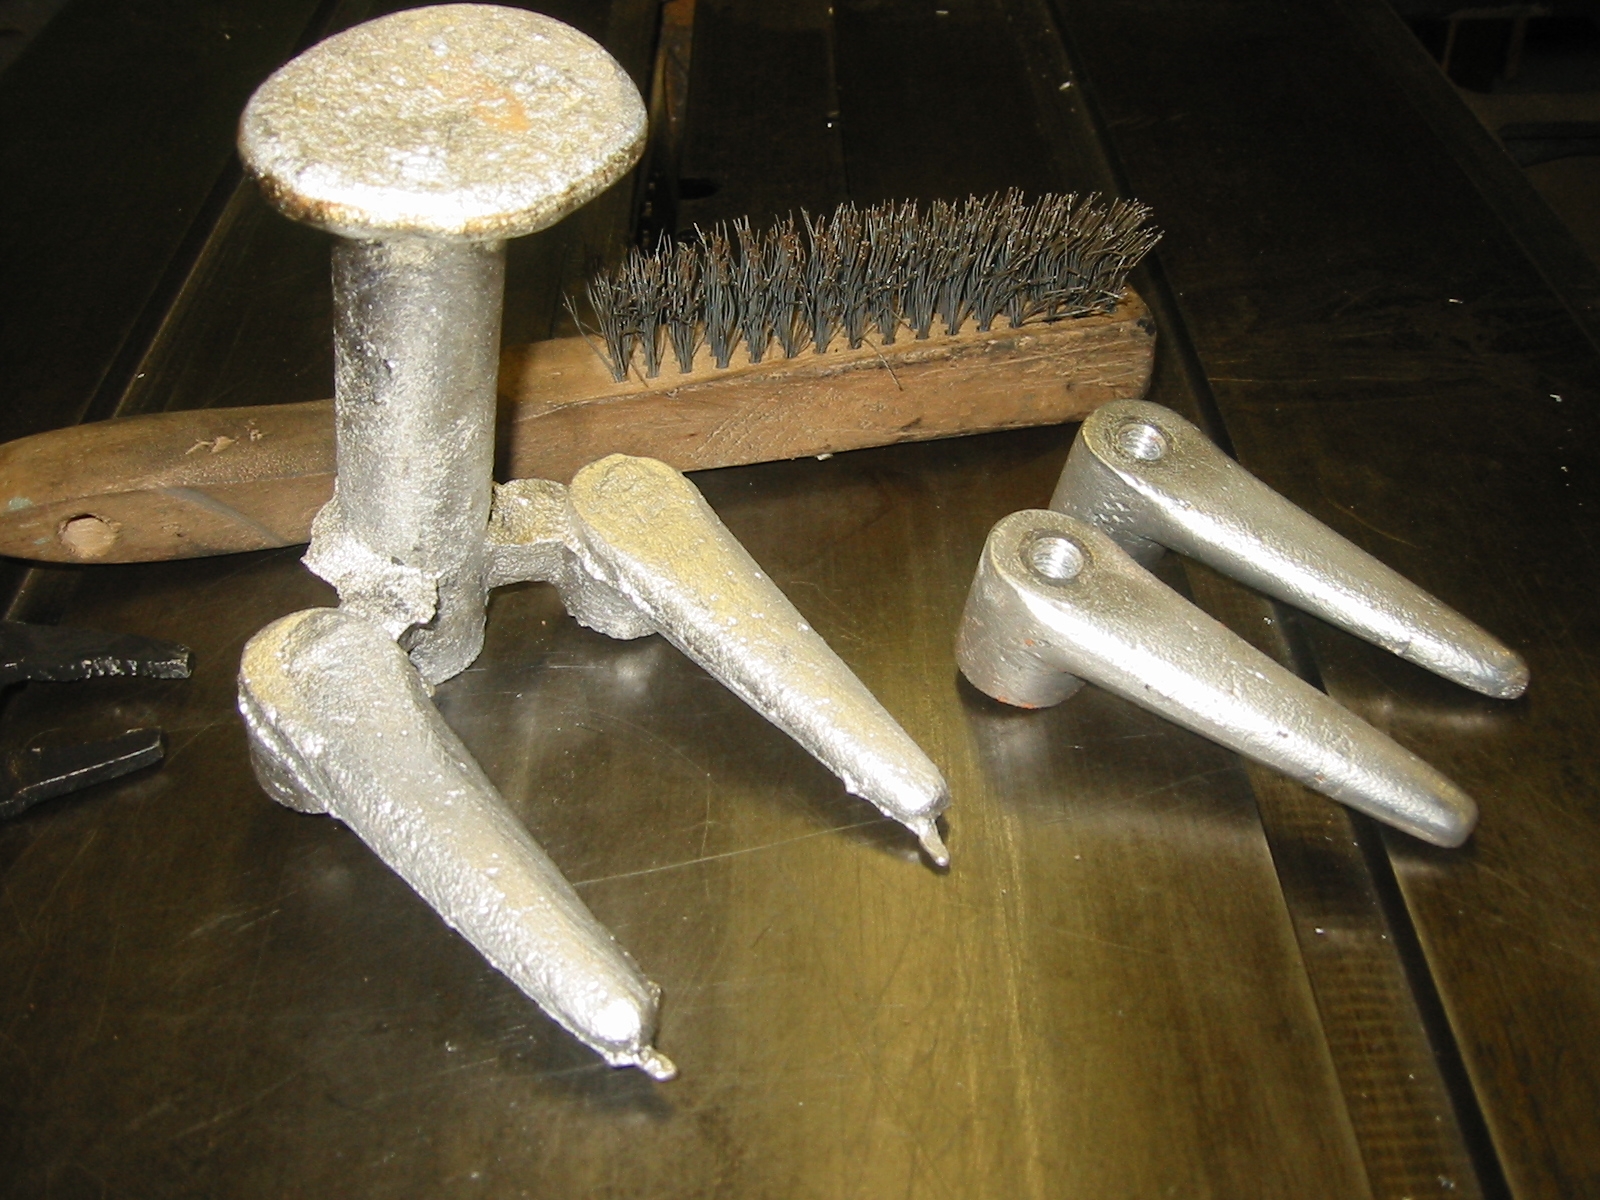
(1) Start by building some casting flask that will hold the sand. Casting is far to macho to just call them sand boxes. Each flask has 4 parts. My top or "molding board" and the "bottom board" are 1/2 inch plywood. I added runners to the plywood to stiffen them and make the easy to pickup. The frames are pine secured by 2 screws at each corner. Nearly any board would work. You can use brackets to strengthen the corners if needed. The inside surface should be rough so the sand will stick to it, or you can add a thin strip of wood or cut a shallow groove to help hold the sand in place. You must be able to accurately align a pair of frame together after that have been taken apart, so I added a few dowel rods to each flask for this purpose. Others use interlocking blocks on the outside of the frames. A pair of old door hinges would work well too, and would have the added advantage of allowing you to insert the pin and lock the frames together. Locking the frames together is optional but it will prevent the molten metal from ever lifting the top frame. The only thing to keep in mind here is that one of the frames in a pair must not have anything that would prevent the the bottom molding or bottom board from resting flush against the frames top or bottom. Notice that the dowels on my frames are all fixed to one side and the latches I used can fold back so the do not extend above the edge of the frame. Steps for Sand Casting
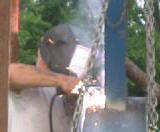
Sodium Silicate Sand CastingSodium Silicate is what most professional foundries use to make sand casting fast, easy, and more reliable. If your interested in making parts than showing off your skills then Sodium Silicate is for you.
|