|
|
||||||||||||||||||
Aluminum Molds
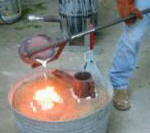
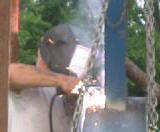
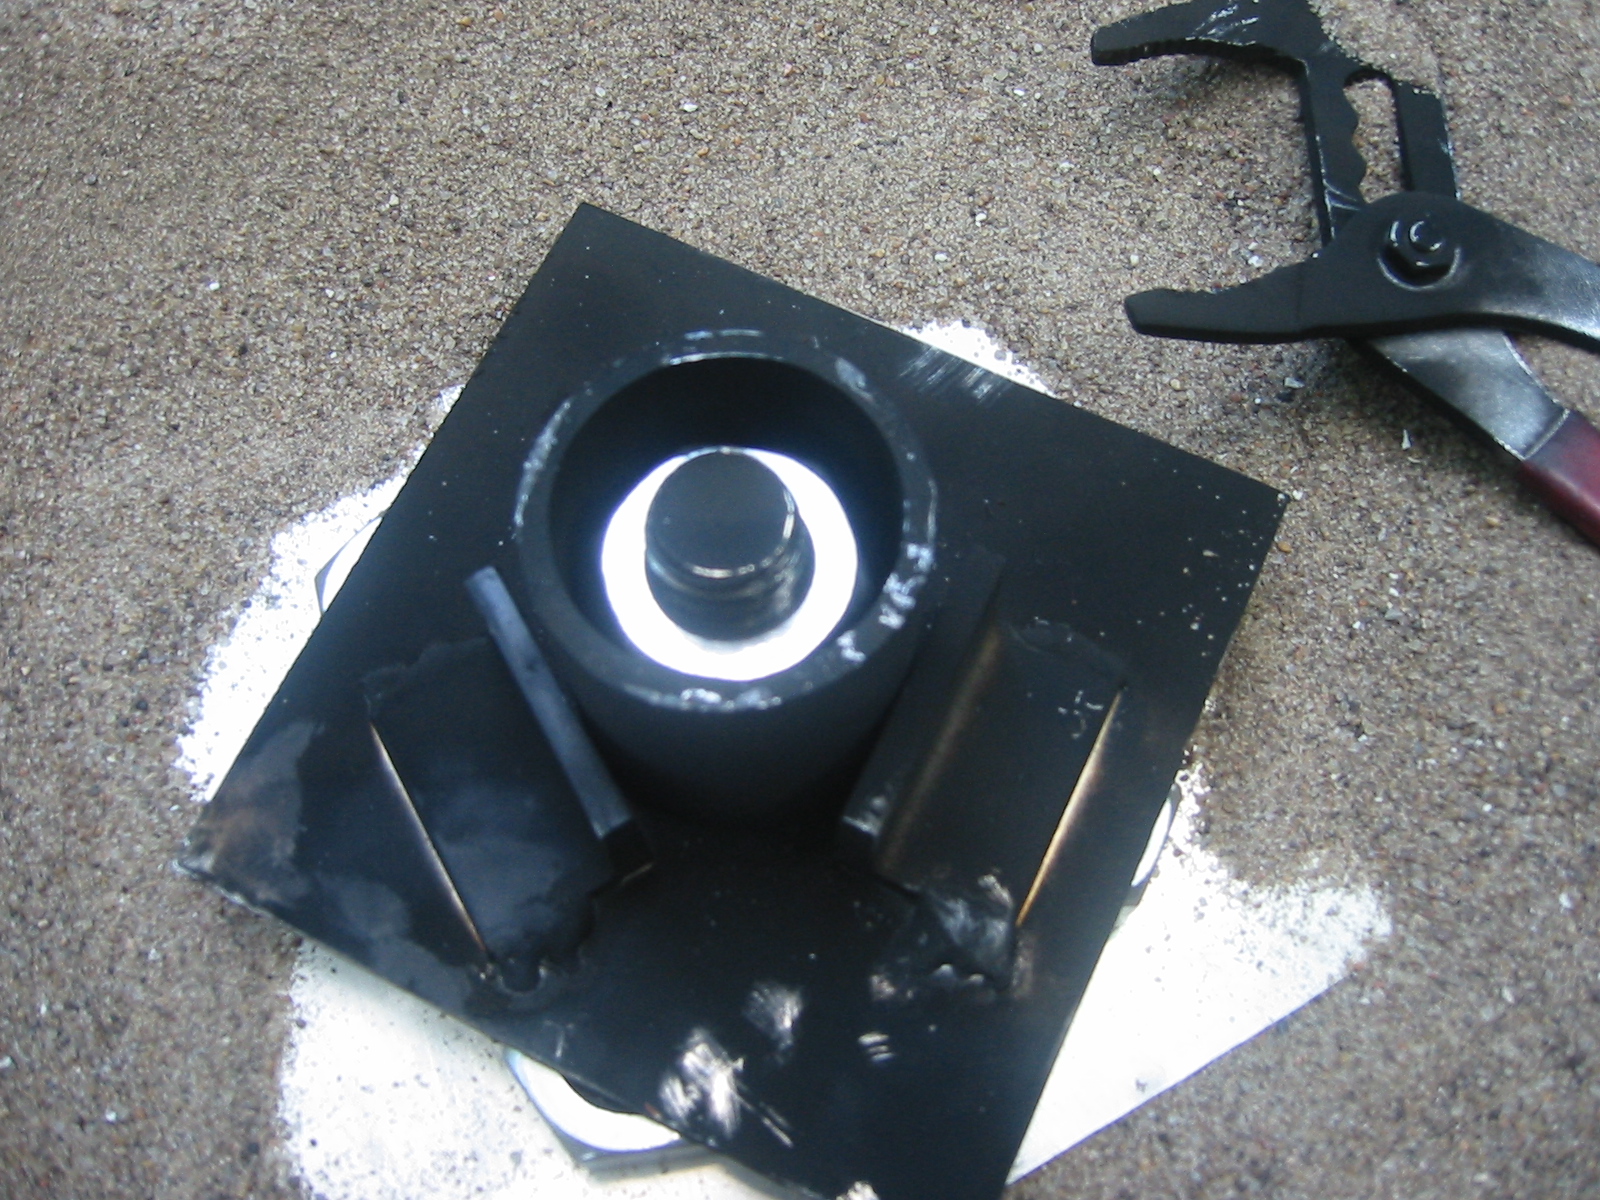
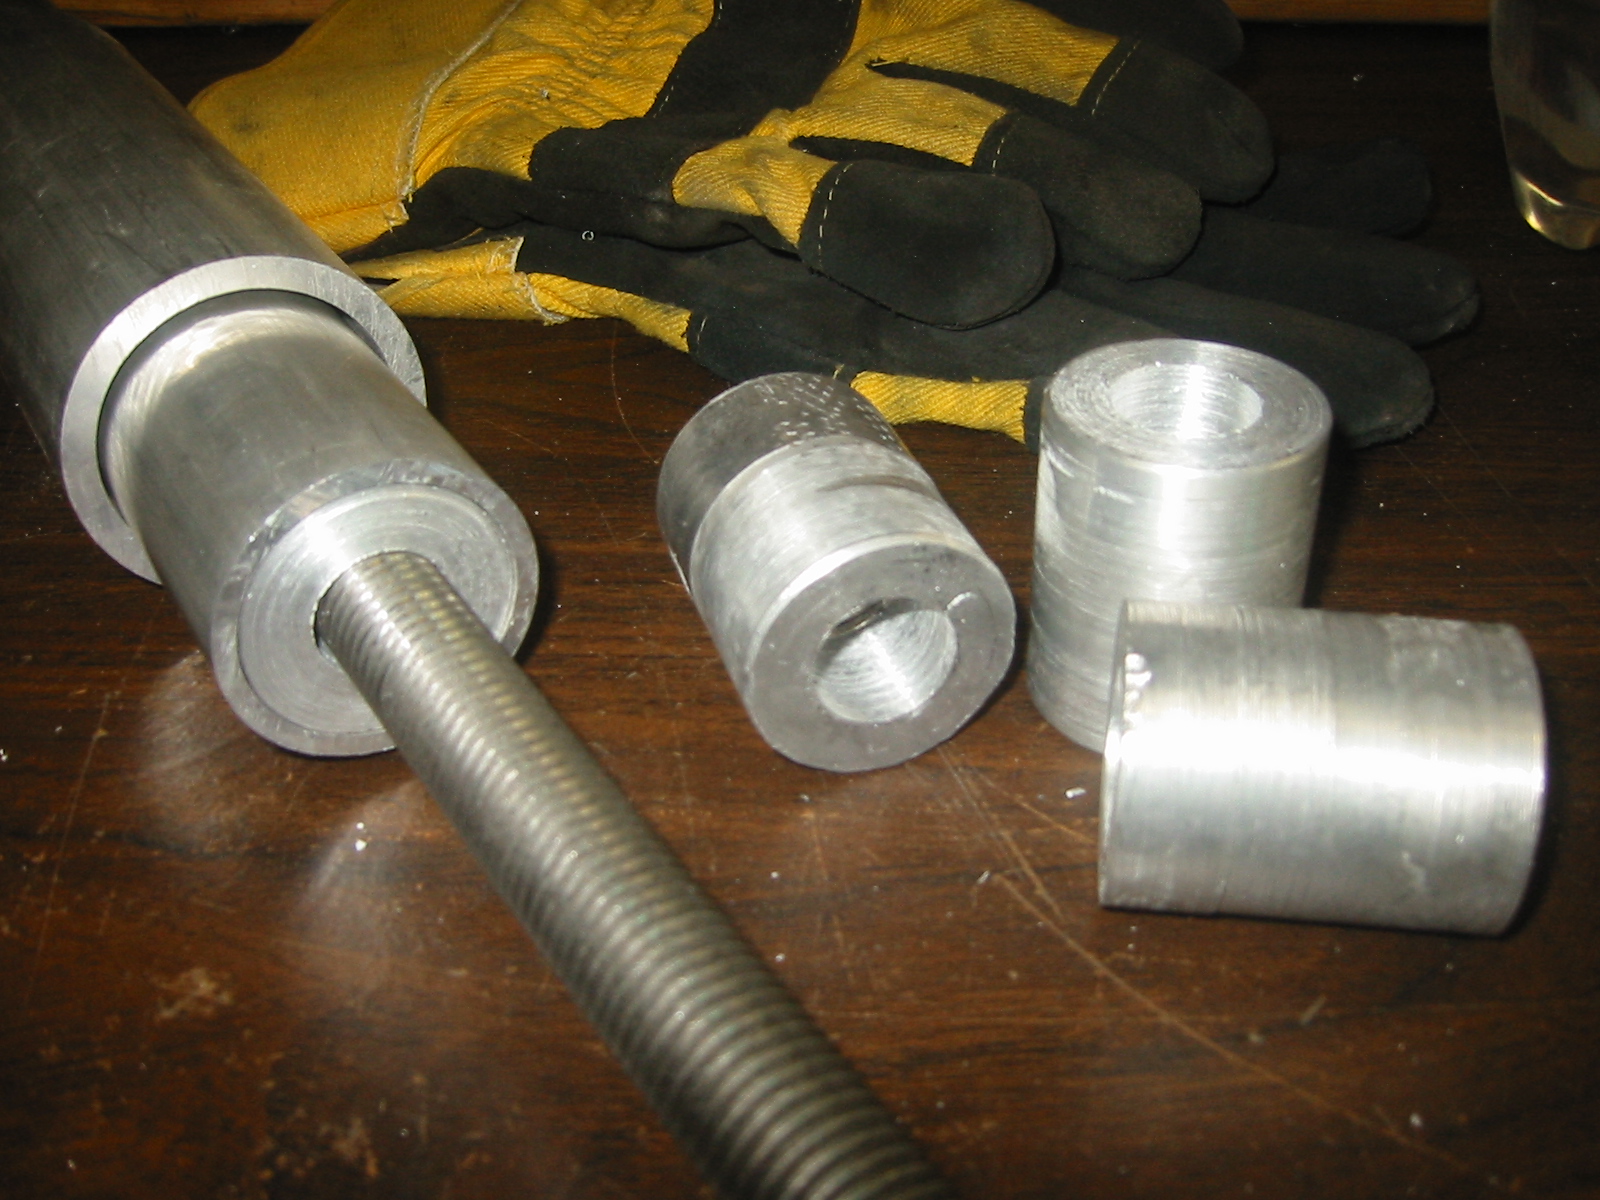
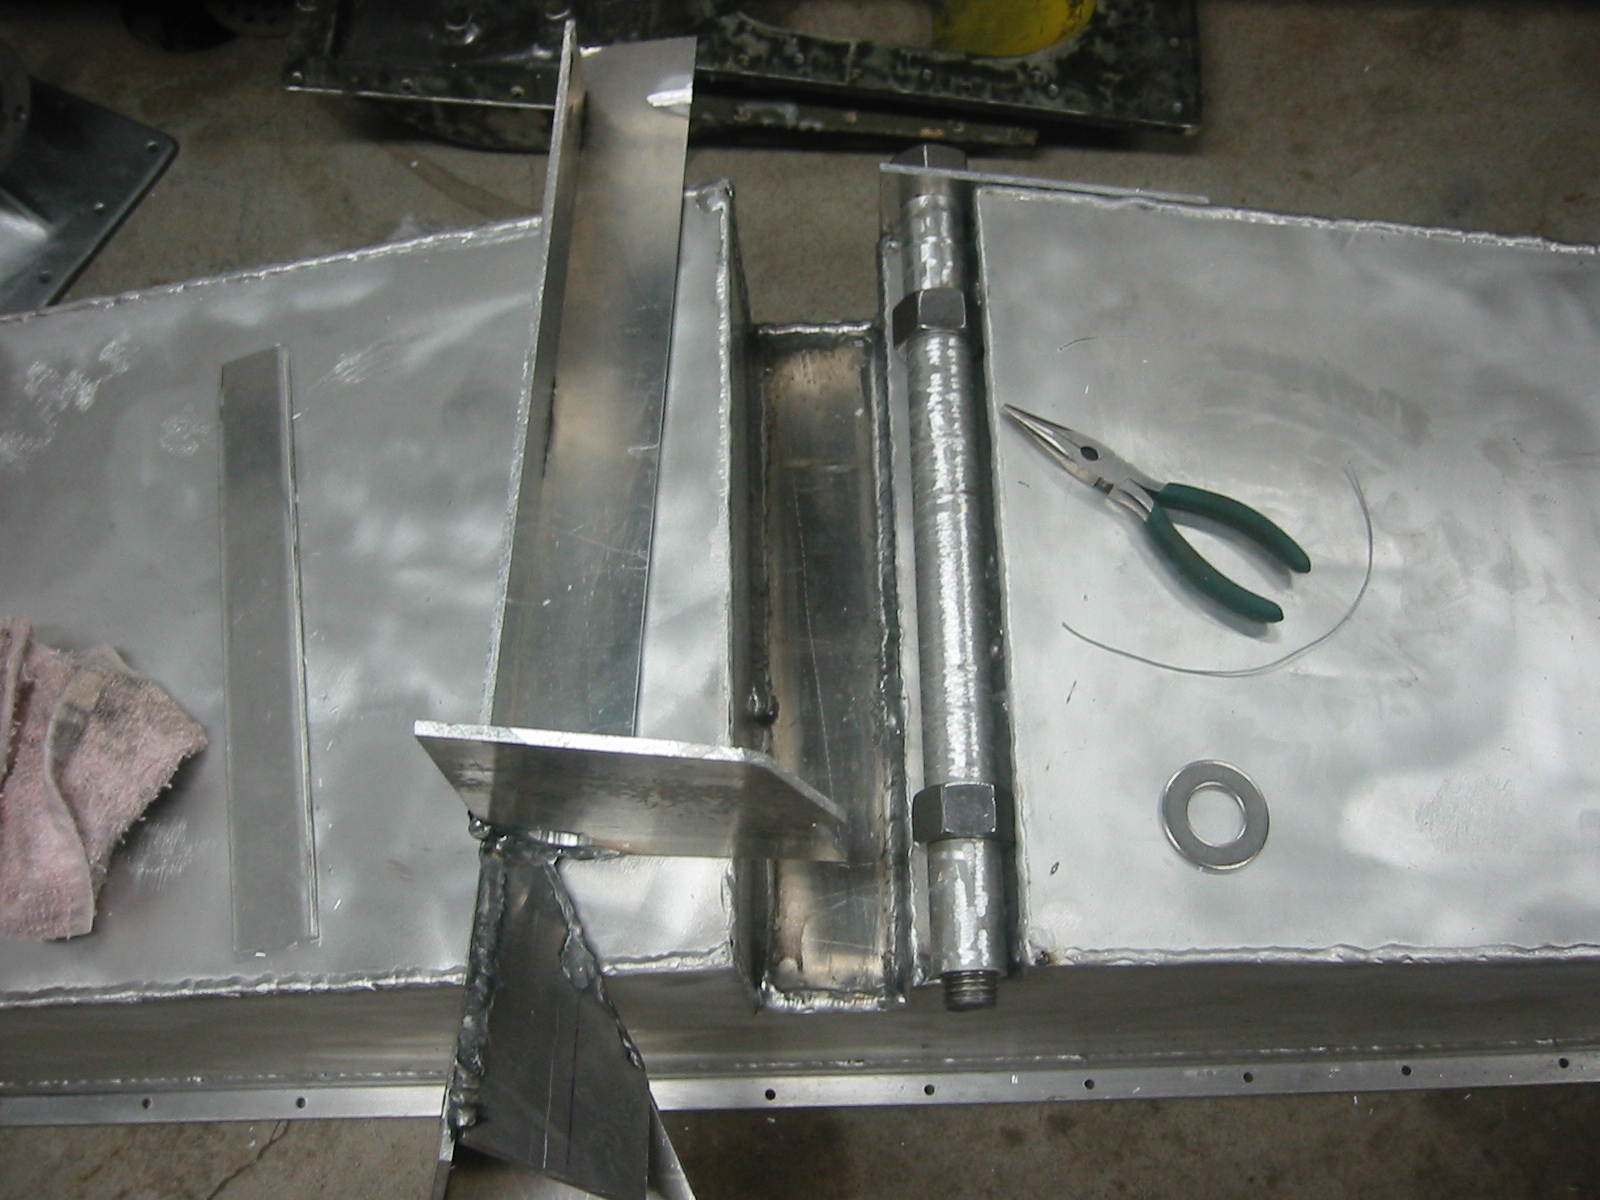
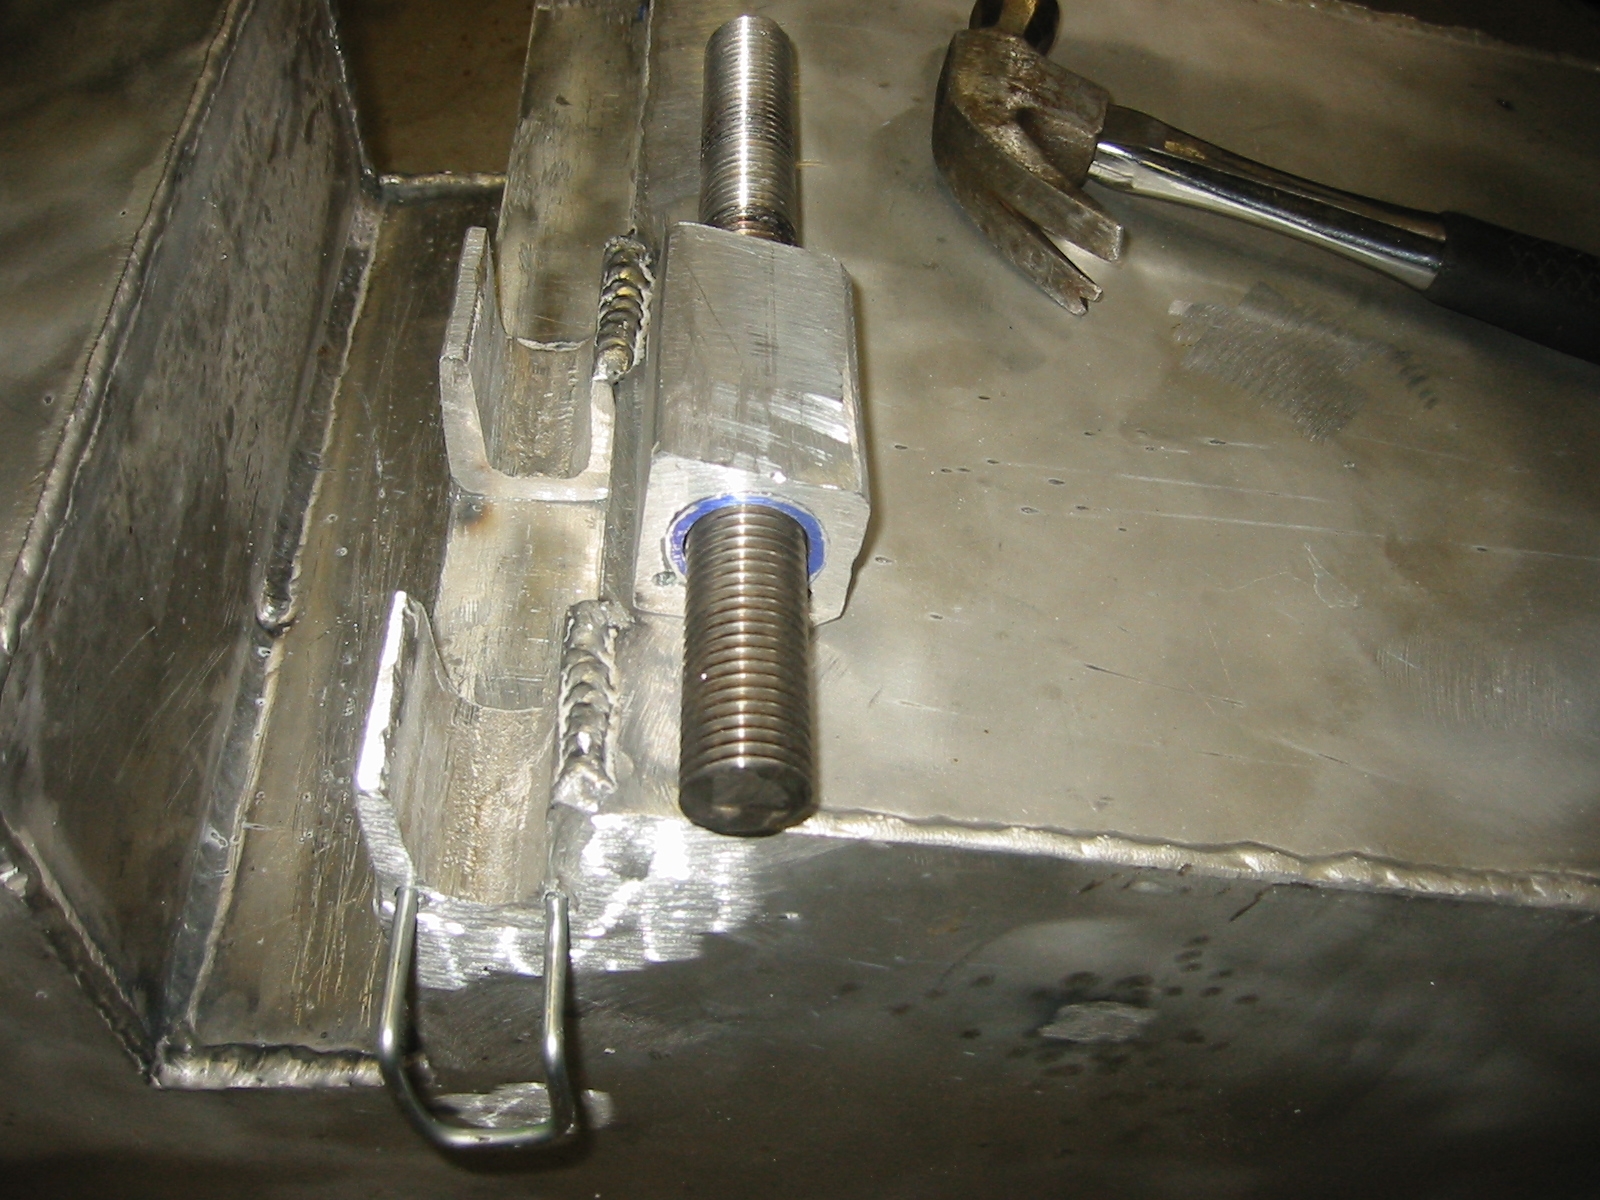
I am working on building support legs for the submarine. This is basically a linier actuator using all-thread rod for a lead screws and common 3/4 inch nuts cast inside of cylinder that will fit inside a 1 1/2 inch pipe. (1) The mold is aluminum sheet for the bottom, the nut on a piece of all-thread surrounded by a piece of pipe. (2) Everything but the nut is covered with a generous layer of soot from burning diesel on a rag. The parts came out nice. The cast threads were cut way in the lathe leaving on the threads from the nut. It turns out that I did not use these but it's one more thing for the bag of tricks. How Not to use Aluminum as a Mold(3) I have had another opportunity to use aluminum as a mold and have learned something that you do not want to do. I thought I might move the ballast sled using a lead screw the passed through the bottom of the sled. So I again needed lead screw nuts, but this time in housing shaped to fit the notch in the sled. Three mistakes were made. See if you can guess. The 1 inch diameter lead screw has sections of 1/8 inch wall 1 1/4 inch diameter aluminum pipe covering it. Aluminum cut from soda cans was used to shim the pipe so that the lead screw was centered in the pipe. The pipe has also been roughened in order the provide better grip for the molten aluminum. The lead screw also passes thought 2, 1 inch nuts. Half of the mold was formed by the sides of the sled, and the other half is made from the same 3/16 inch aluminum sheet spot welded together with a pouring funnel and vent. And holes for the lead screw to pass through are on both ends. This half of the mold was then spot welded in place. The nuts rest against the side of the sled so most of the material in the cast is on the outer side but there is a no less that a 1/4 inch gap between the pipe and the sled. Before pouring I pre-heated the mold so that the aluminum would be less likely to choke as it flowed around the pipe and nuts.
Did you find the mistakes? Here they are: #1 Don't use unprotected aluminum as a pouring funnel, the constant high temperature on the molten aluminum hitting one spot on the funnel is enough to rather quickly burn through the 3/16 inch material. #2 Don't pre-heat the mold. The outside mold was only spot welded together where the edges of the two sheets came together and they were already hot. Without enough mass or contact surface to conduct the heat way from the joint, the molten aluminum burned thought the joint between the sheets of the outside mold. Slowing down the rate of the pour allowed the leak to choke off so I kept pouring. I worked around the first two mistakes but the third one would have destroyed the part even anyway. #3 Aluminum always contracts about 2% as it cools , but with more material on the outside of the pipe than on the inside the force was much greater on the thick side and so the entire piece was bowed. The force did not bend the threaded rod, but it did bend the pipe enough to force the treads to cut into the aluminum shims, and it forced the two nuts at enough of an angle that they were locked onto the threaded rod. Once I had cut the part in half, between the two nuts, and without cutting through the threaded rod; both ends could easily be unthreaded.
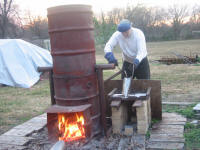
(4) "If at first you don't succeed..." This time I poured into the center so the distance would not be so great and added a lot of heat sinks to the form to keep it from burning through. I also did not preheat the form this time. And the results? (5) Well it did not burn through the form, but it choked off quickly. So I when from too hot to too cold. Maybe the last bowl of porridge would be just right but I decided instead it was time to change the plan.
|
||||||||||||||||||
|
||||
The flask was then closed up and cast. I did used one nut with this rig but I had changed my mind on that along the way too. Using two nuts together always runs the risk of them acting like jam nuts. The casting will contract by 2% and if there were two nuts the the two nuts would closer together by 2% of the distance separating them. They would move more when the casting contracts in cold water.
(7) With the lead screw nut successfully cast, it was just a matter of drilling a couple of holes in it for a pin that would mount it to the bottom of the ballast sled.
The lead screw system was tested and would have worked provide a big enough motor had been used but in the end it was abandoned in favor of a winch.
You can read more about the ballast sled here: Ballast Sled