|
|
||||||||||||||||||||||||||||||||||
Canvas Work -- aka Sewing Stuff
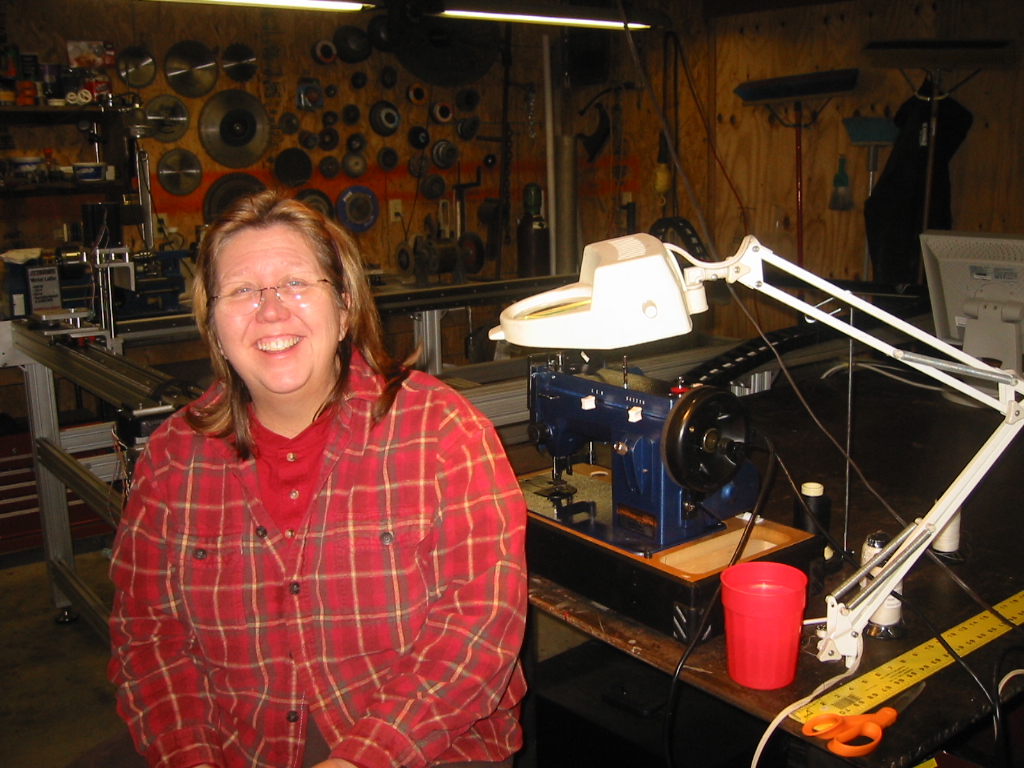
One of our goals is to be self-sufficient cruisers. To that end,
I’m now the official canvas worker, an old name for someone who sews
sails and boat related projects like sail covers, ditty bags, or
even seat cushions. We’ve chosen junk sails for our boat. Junk sails
are connected flat panels so a DIYer can easily make these sails
unlike the more complicated Bermuda rig sails. You just need sail
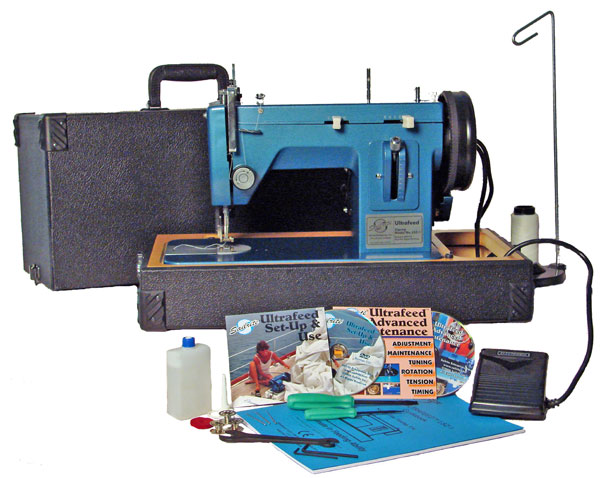
cloth, a hot knife, thread and a good machine. After looking around and sufficiently agonizing over the decision
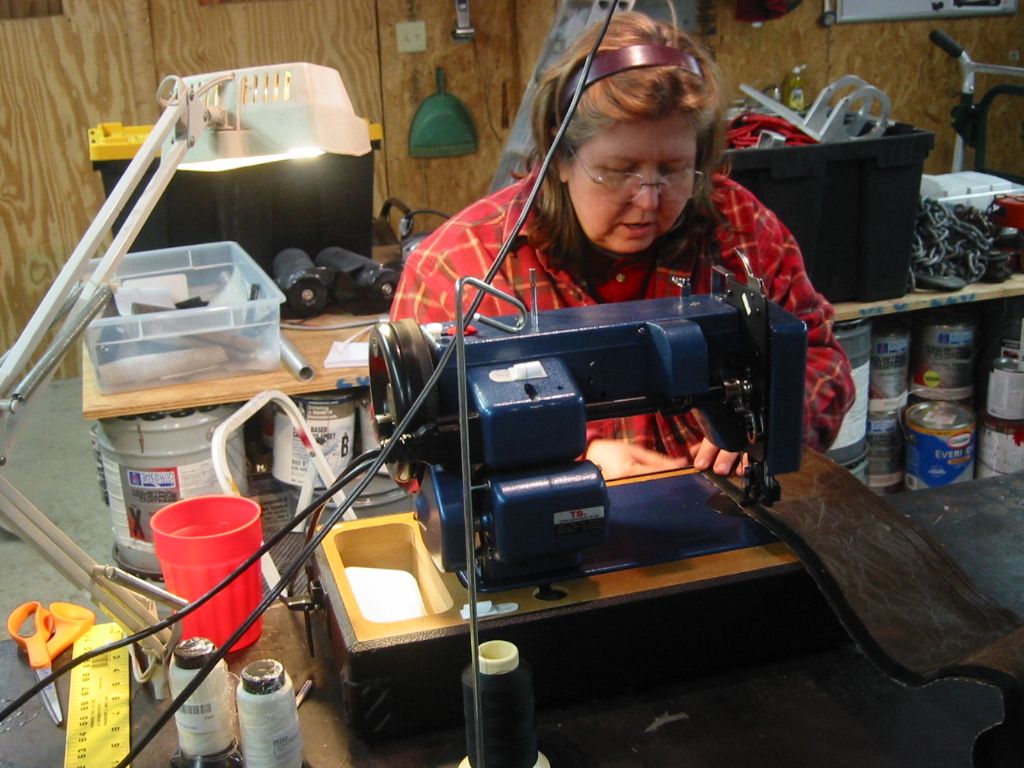
we settled on a Sailrite machine. The Sailrite Ultrafeed LSZ
* Costs $850 for the zigzag model
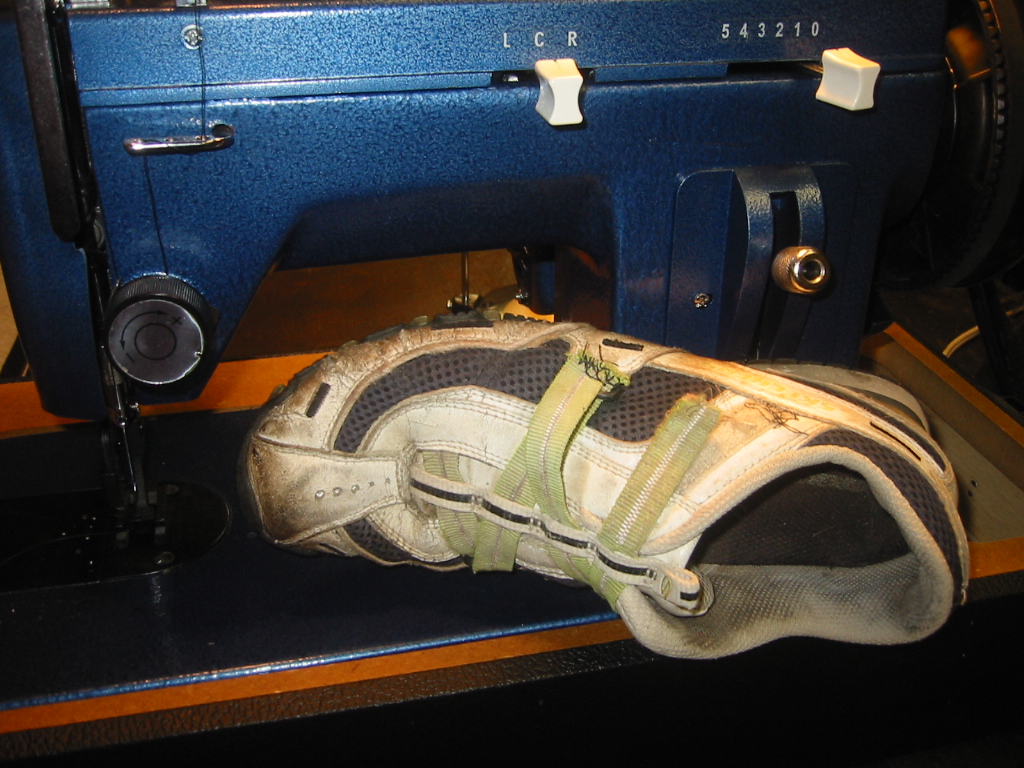
The walking presser foot sold us on Sailrite’s Ultrafeed LSZ. The
foot moves forward and back in time with the feed dog. This ensures
that the layers that the layers of fabric are consistently moving
together through machine resulting in consistently symmetrical
stitch lengths.
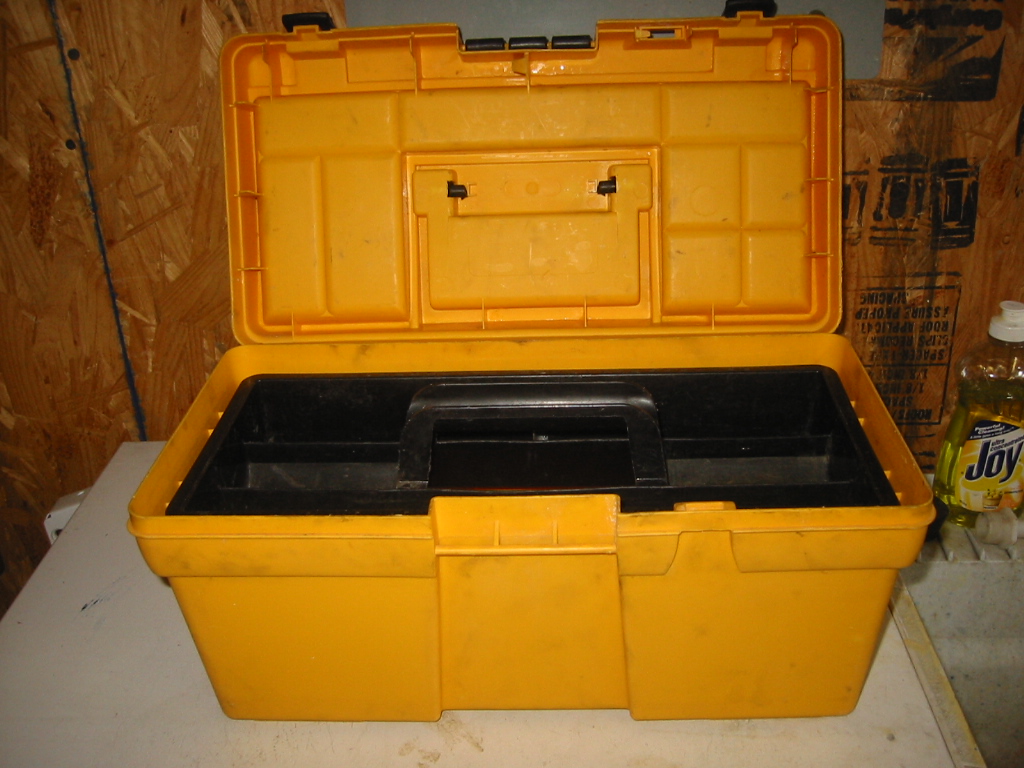
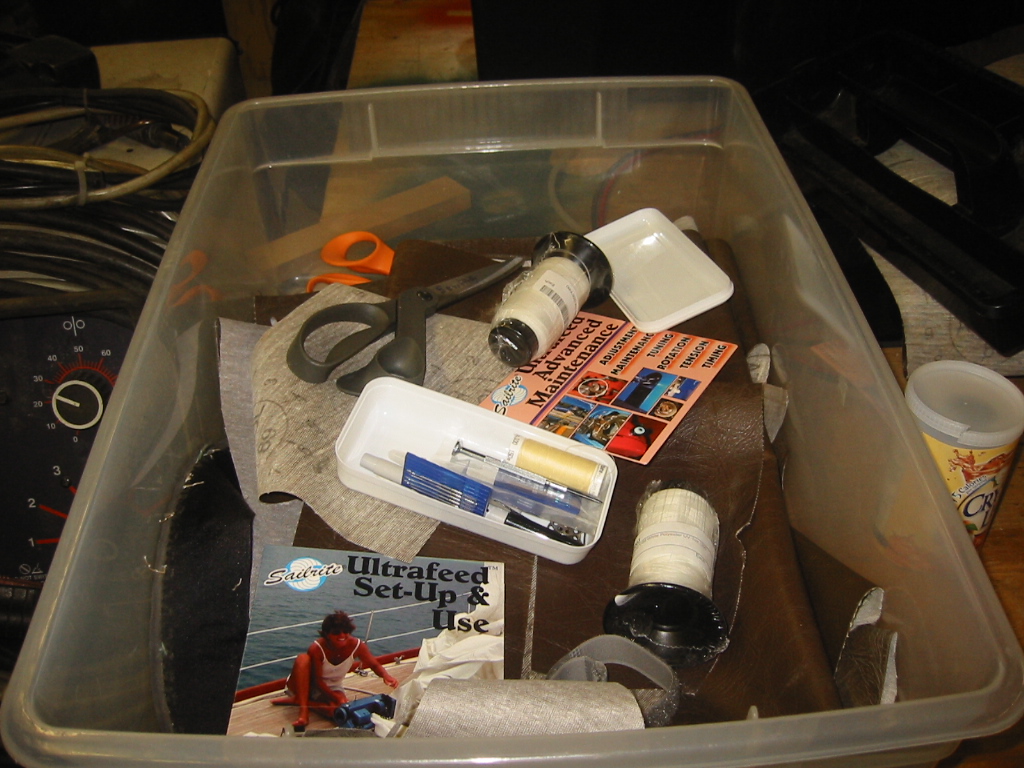
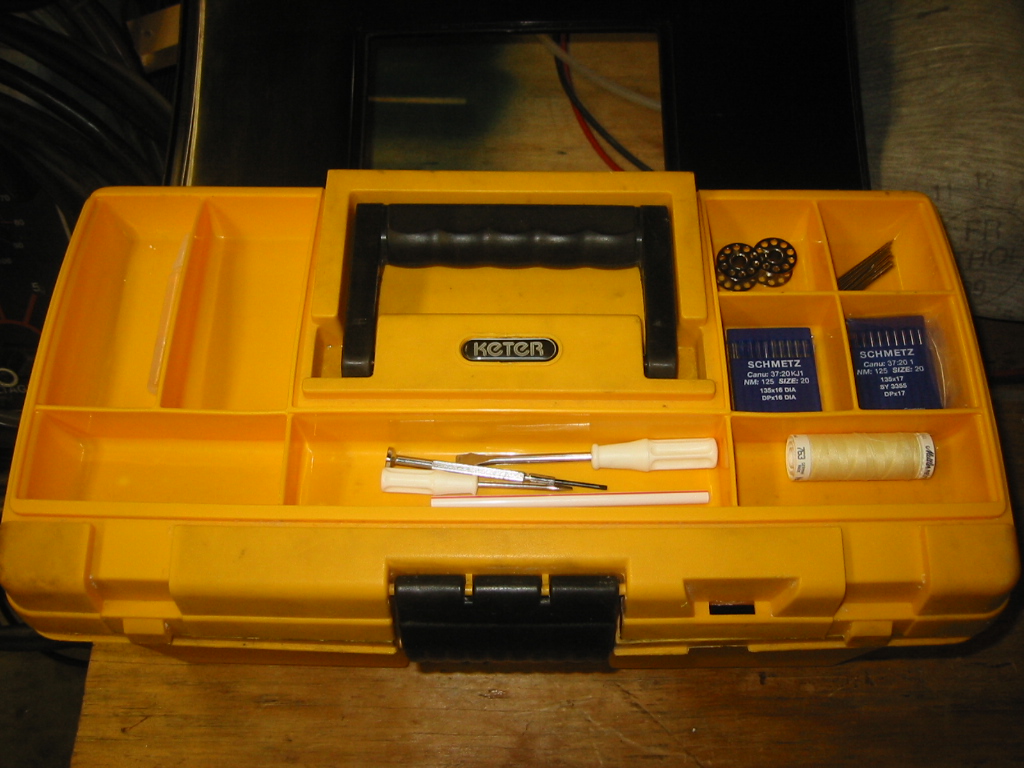
Getting OrganizedWhen I first started out sewing in the shop, parts of my projects
were scattered across the CNC table, the wooden table, and the
floor. My tools and accessories were thrown into a tote that just
happened to be laying on a nearby table. Not much thought put into
organizing things.
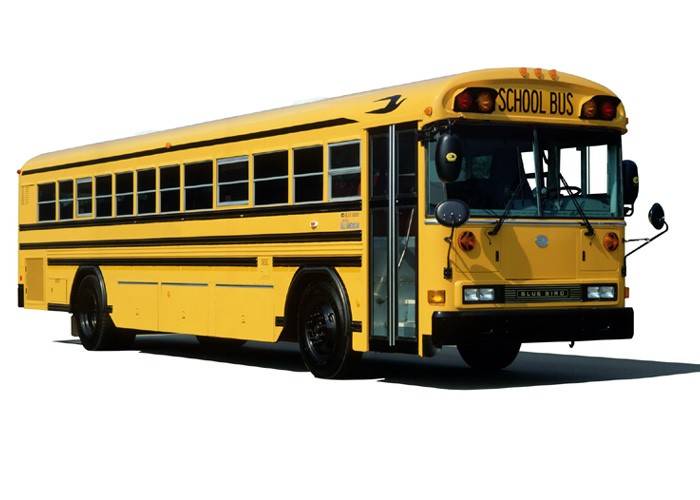
Machine and Cable Covers(1) While looking for a cheap source of windows for our sailboat,
we came across a great deal – a school bus with 14 working, unbroken
windows that still ran for only $500. We bought it, drove it home
and then spent 5 weeks salvaging anything that might be of use,
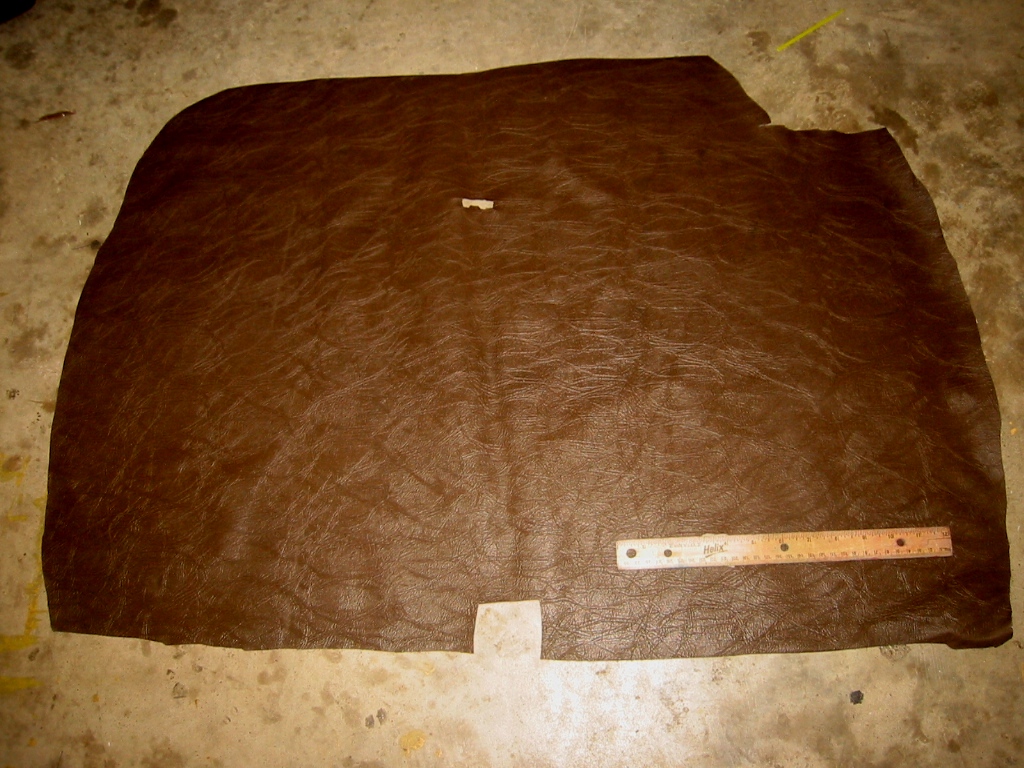
including the fabric covering the seats. (2) Some of the seats
has a many a 3 covers on them and it's a nearly indestructible
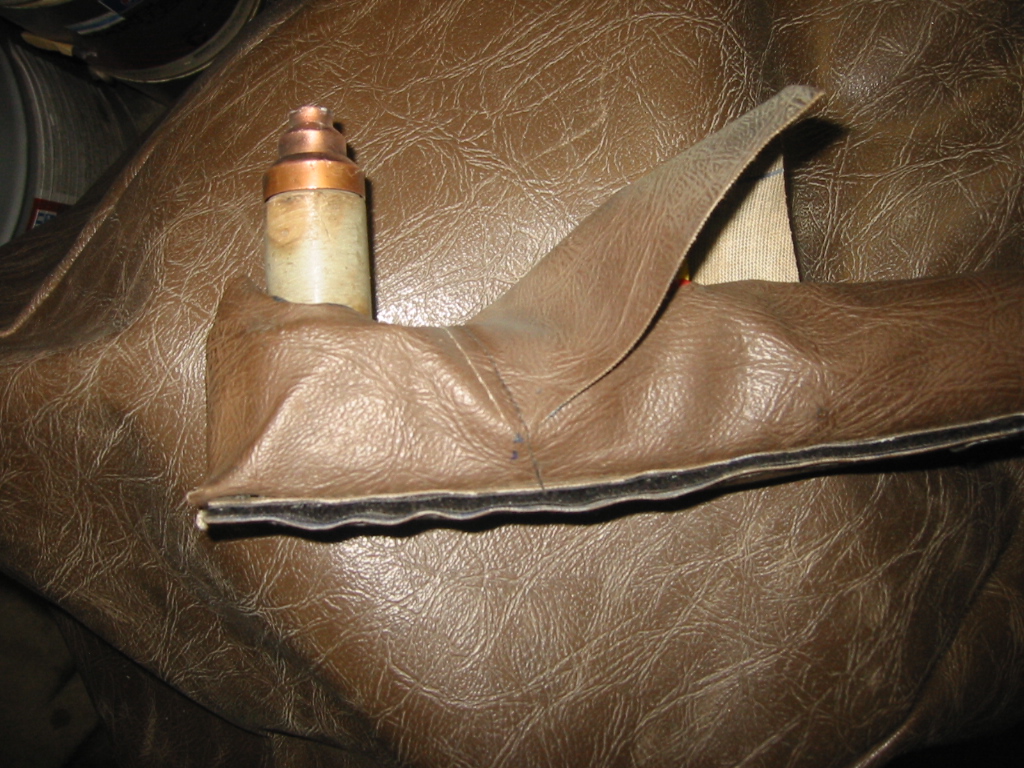
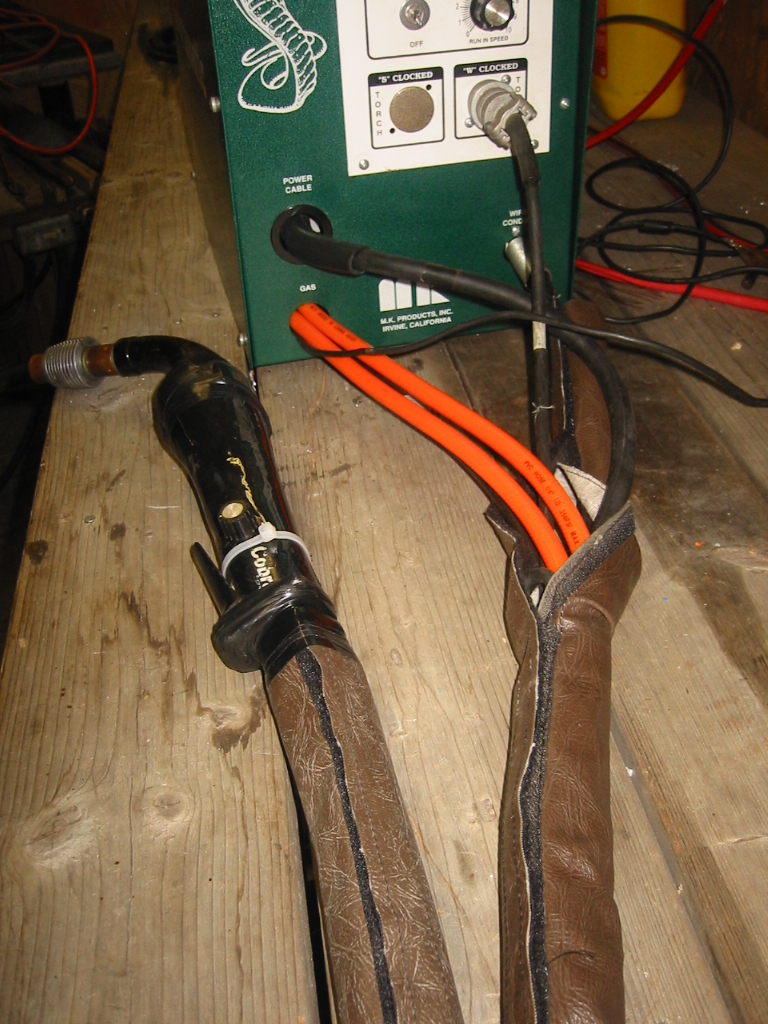
vinyl. (4) While cutting up the school bus with the plasma cutter, Doug
had problems with blow back especially when cutting into parts of
its engine or where there were flammable materials or liquids. To
protect the plasma gun I sewed a cover for it that has a flap over
the trigger that protected the user’s hand.
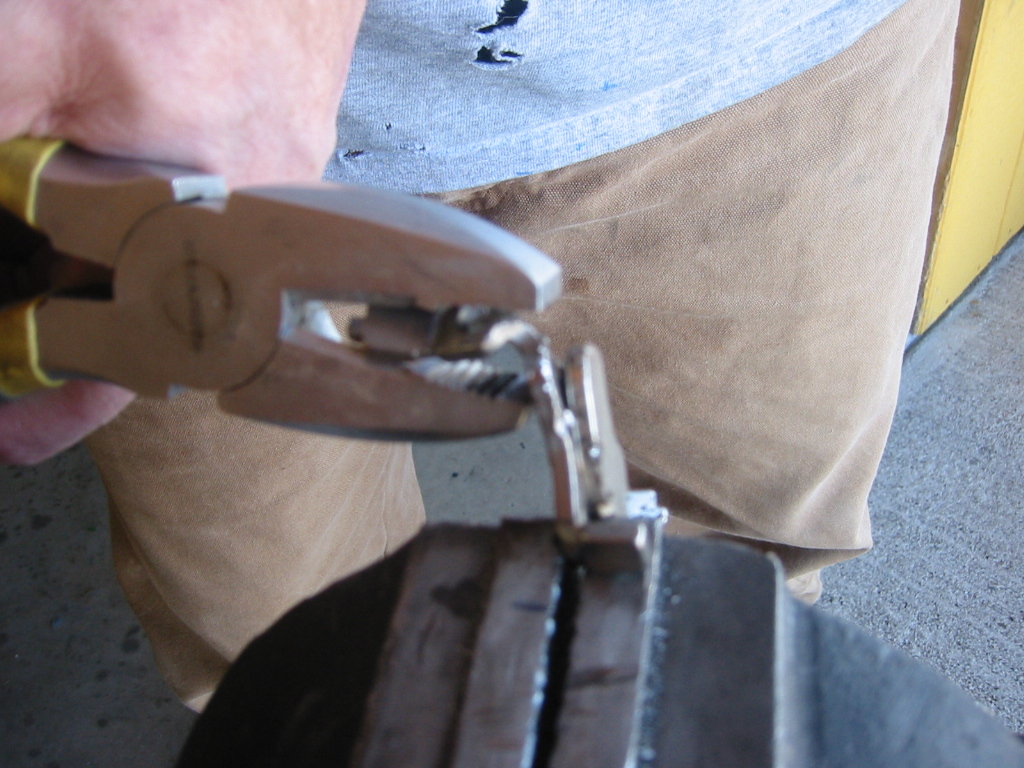
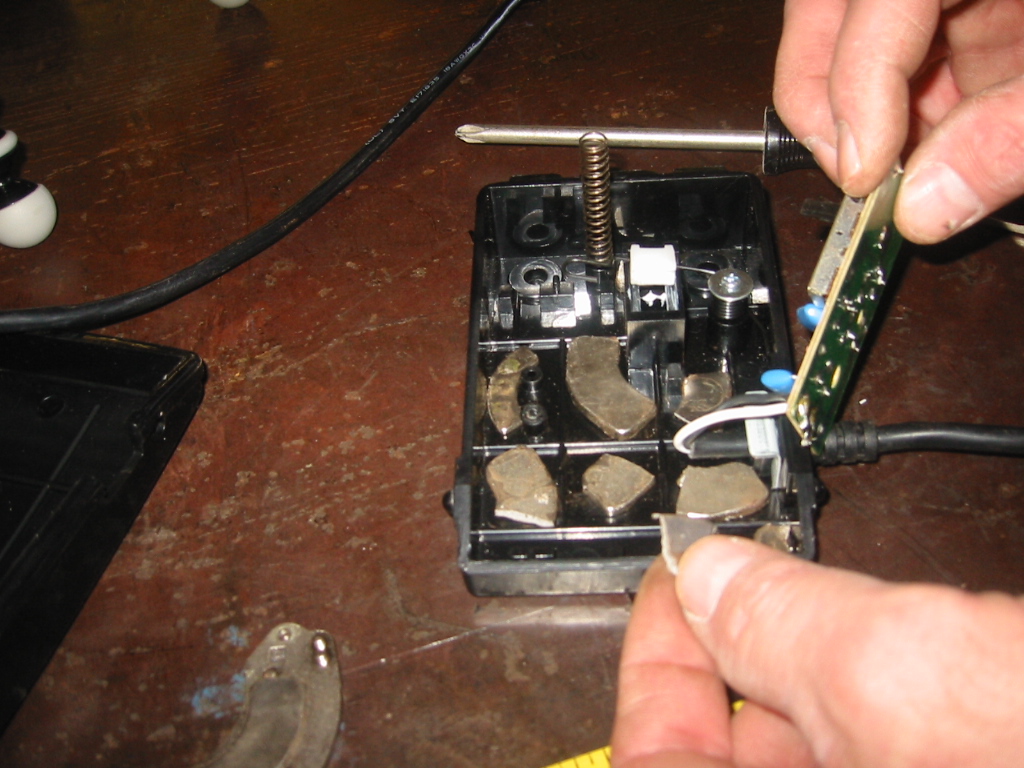
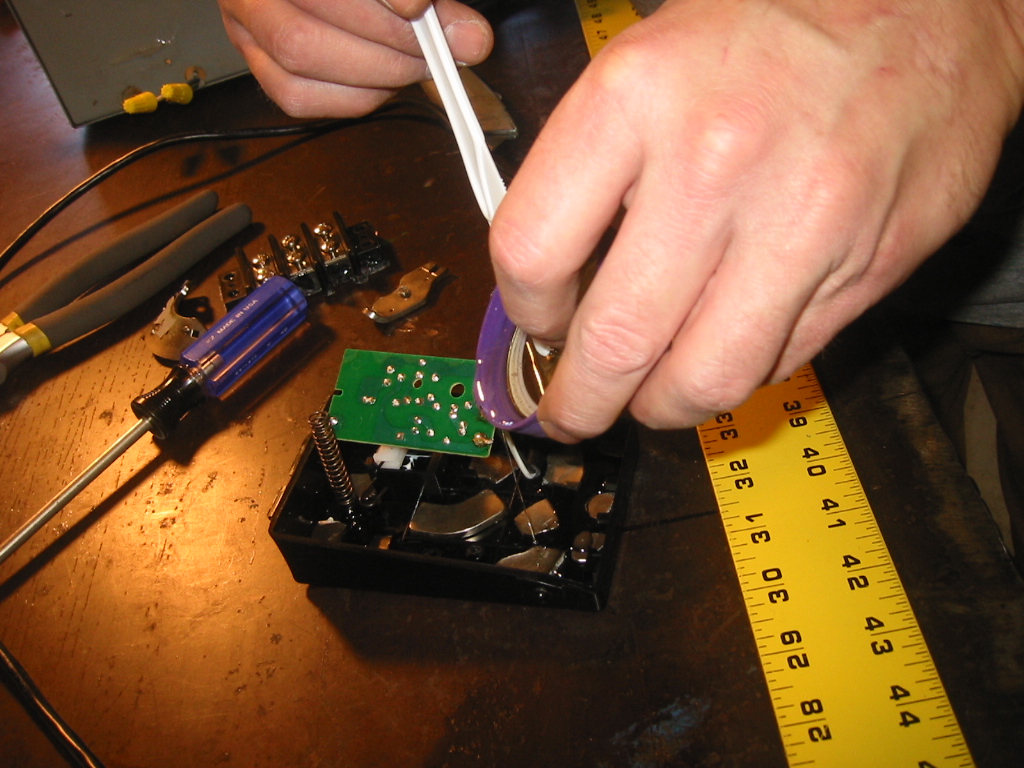
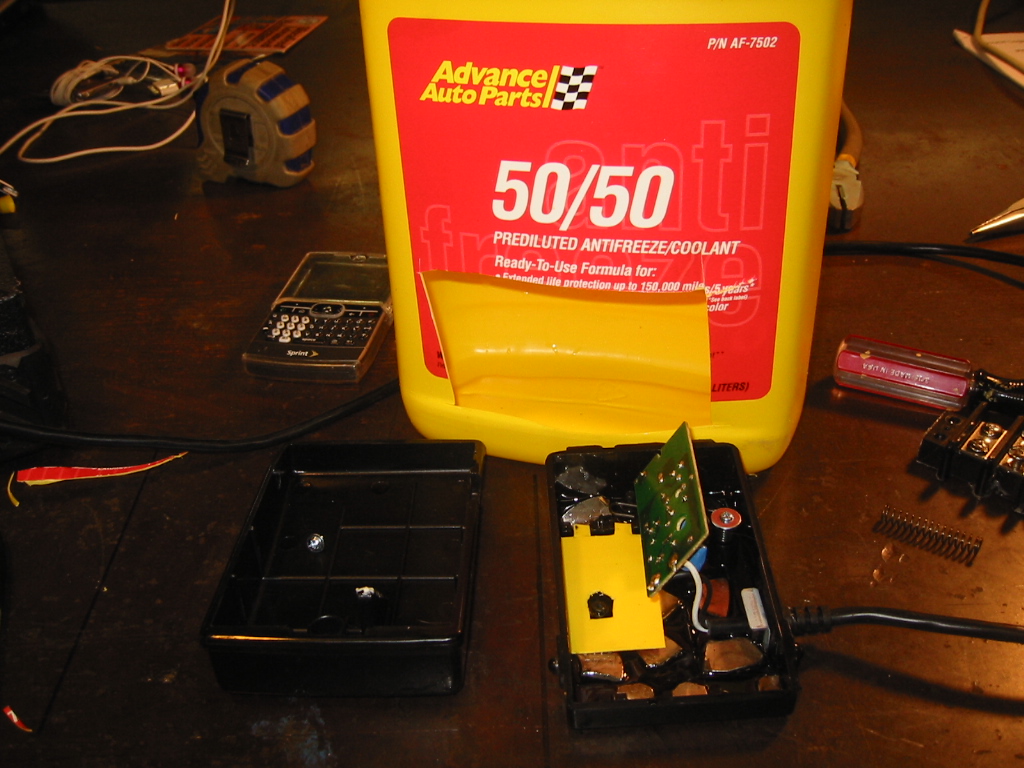
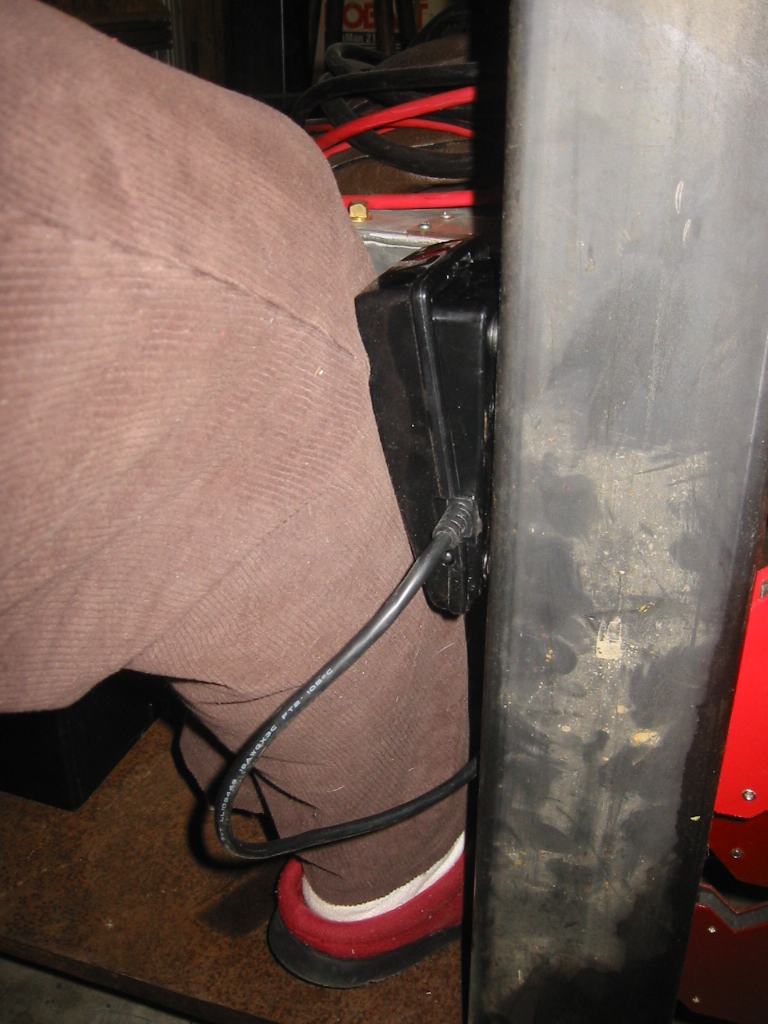
A Stick Tight Foot SwitchMy sewing spot in the shop is the end of our steel work table
with me sitting on a stool and the machine’s presser foot resting on
the steel shelf below the table. The foot switch is light and easily
moved about. So Doug came up with the idea of adding magnets to its
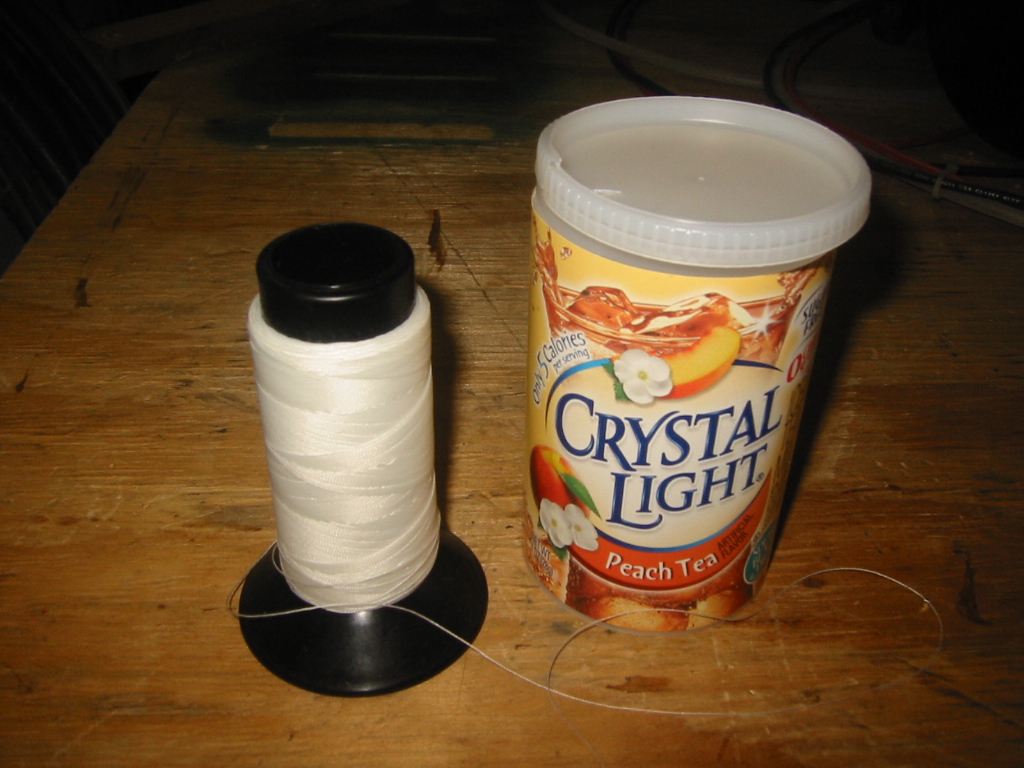
base. (4) (5) After the epoxy dried, I created an insulator for the electronics board in the foot to prevent the contacts on the bottom side of the board from shorting against the magnets. A plastic jug donated the needed plastic. Another fine example of how we recycle pretty much anything at hand. (6) My foot switch now sticks to the steel table’s shelf or legs so I can even have beside my knee.
Other Projects
We grew tired of the slack chains hanging from the gantry cranes
hitting us in the head and snagging on every corner, so Kay make us
some chain bags for about $3 that normally sell for about $80.
She converted a slings she originally make from trucker tie down
strap which was too worn to continue life lifting loads. Add
to that some salvaged school bus seat vinyl, so blossoming skill and
we now have to very heavy duty chain bags.
|